Recently, a colleague at work contacted me and asked if I wanted some old computer stuff, including a 19″ CRT monitor and a colour Dot Matrix printer. This donation was gladly accepted, and whilst collecting my new toys, we found ourselves discussing various retro tech.
During this conversation, he mentioned that he had a Yamaha DX7 synthesiser that he had purchased, but it had a fault. It is very common for the batteries to die on these, which then leads to corrupted content in the RAM. In this case, though, the battery had already been replaced, but it didn’t fix the issue.
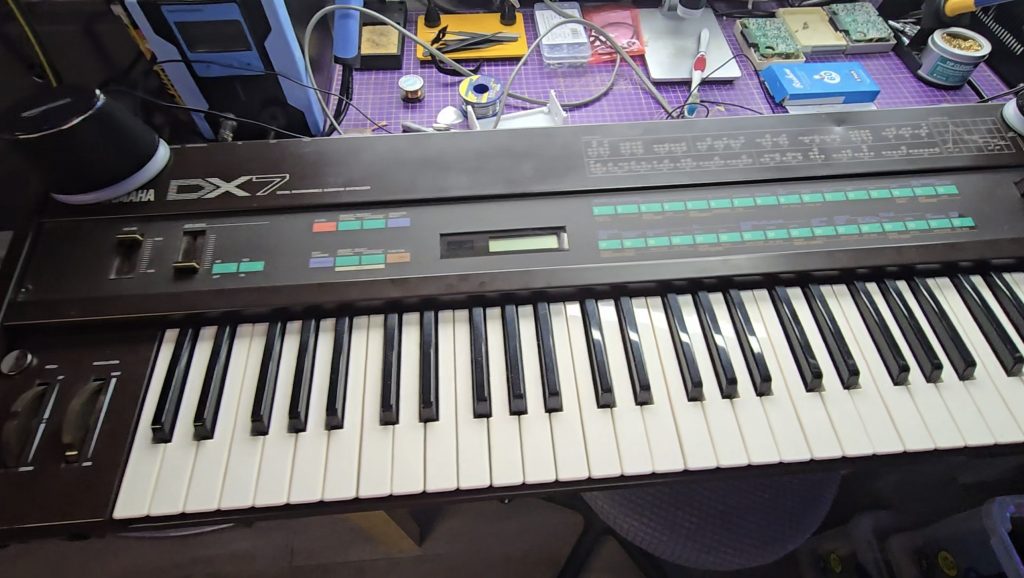
I did a quick Google search for the schematics, and essentially what I saw were the schematics of an 8-bit microcomputer. I said I’d take it back with me and take a look to see what was going wrong. Occasionally, the keyboard would appear to boot up, but would then hang, other times, the display would be garbled and completely unresponsive.
I knew the CPU was trying to run code because the display was occasionally showing correct text. Just to rule out a ROM chip issue, I downloaded the ROM file from the internet and compared it with the ROM stored on this chip. All looked ok, but I wrote the ROM to a new chip anyway and tested with the same result.
I then grabbed my scope and started probing the pins on the ROM chip to see what the address bus and data buses looked like. It was with the scope that I saw the issue, or at least the first issue. The data bus pins were all looking good with nice strong 5V peak-to-peak signals. But the first 8 address bus pins (0 to 7) were all a lot lower. Address bus pins 8-15 were all working as expected.
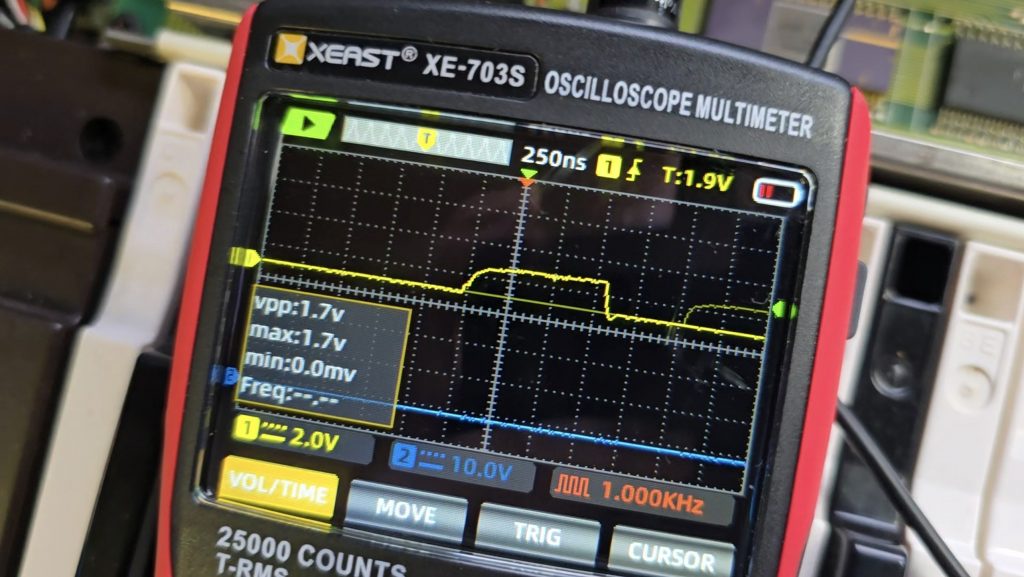
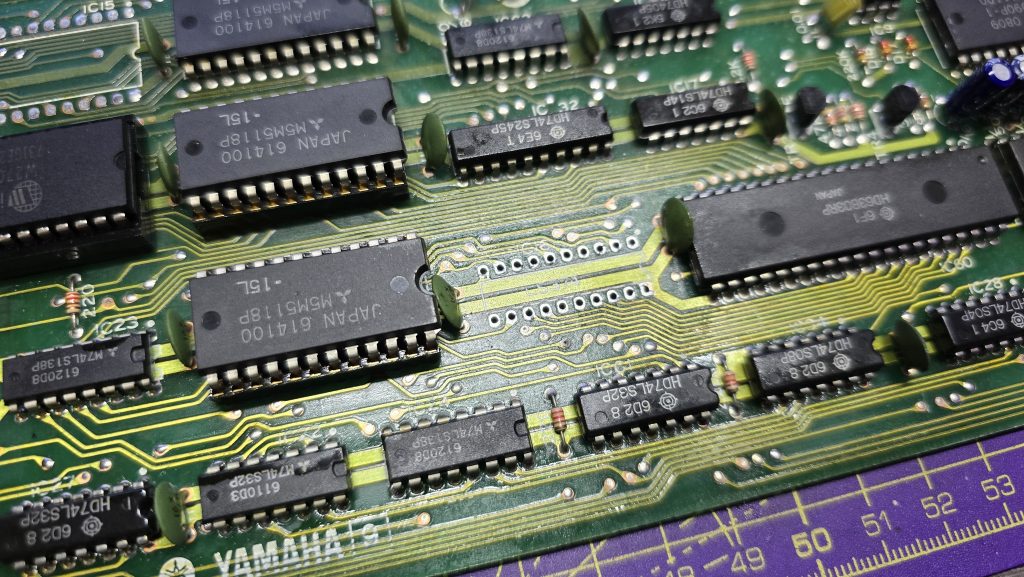
I dragged out the schematics and did a quick glance around for something that was only connected to the first 8 address bus pins. There was one very obvious candidate, a 74LS374 transparent latch IC that sat between the address bus and the ROM chip. Looking at the inputs of this IC showed they were nice and strong with no issues, but all the outputs were low, as shown in the picture above.
I suspected that this chip was faulty, but it could still be another IC on the board pulling the outputs low. So to test for that, I snipped one of the output pins so it was floating, then measured again. Exactly the same issue. At this point, I then removed the IC from the board, ready for the replacement chip to arrive.
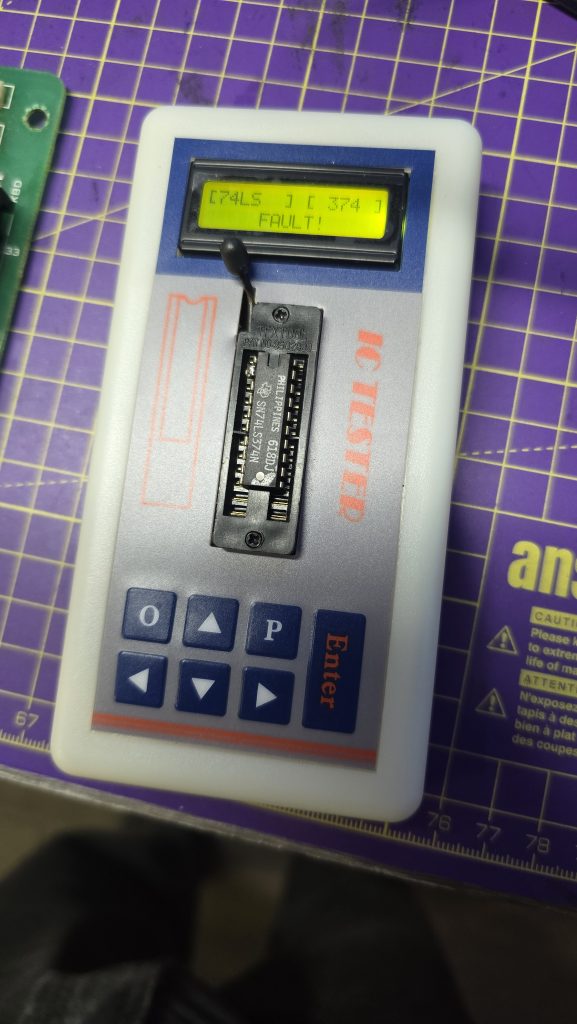
Now off the board, I tested the chip in my chip tester just out of curiosity. It did indeed state that the device was faulty. I will be testing the new ones when they arrive, as I’ve not used this chip tester before, so not sure how much trust to put into it yet.
All I need to do now is await the delivery of the new IC and hopefully, this classic synth will be back up and running again. I will of course update everyone with the result, and hopefully this is the only fault 🙂