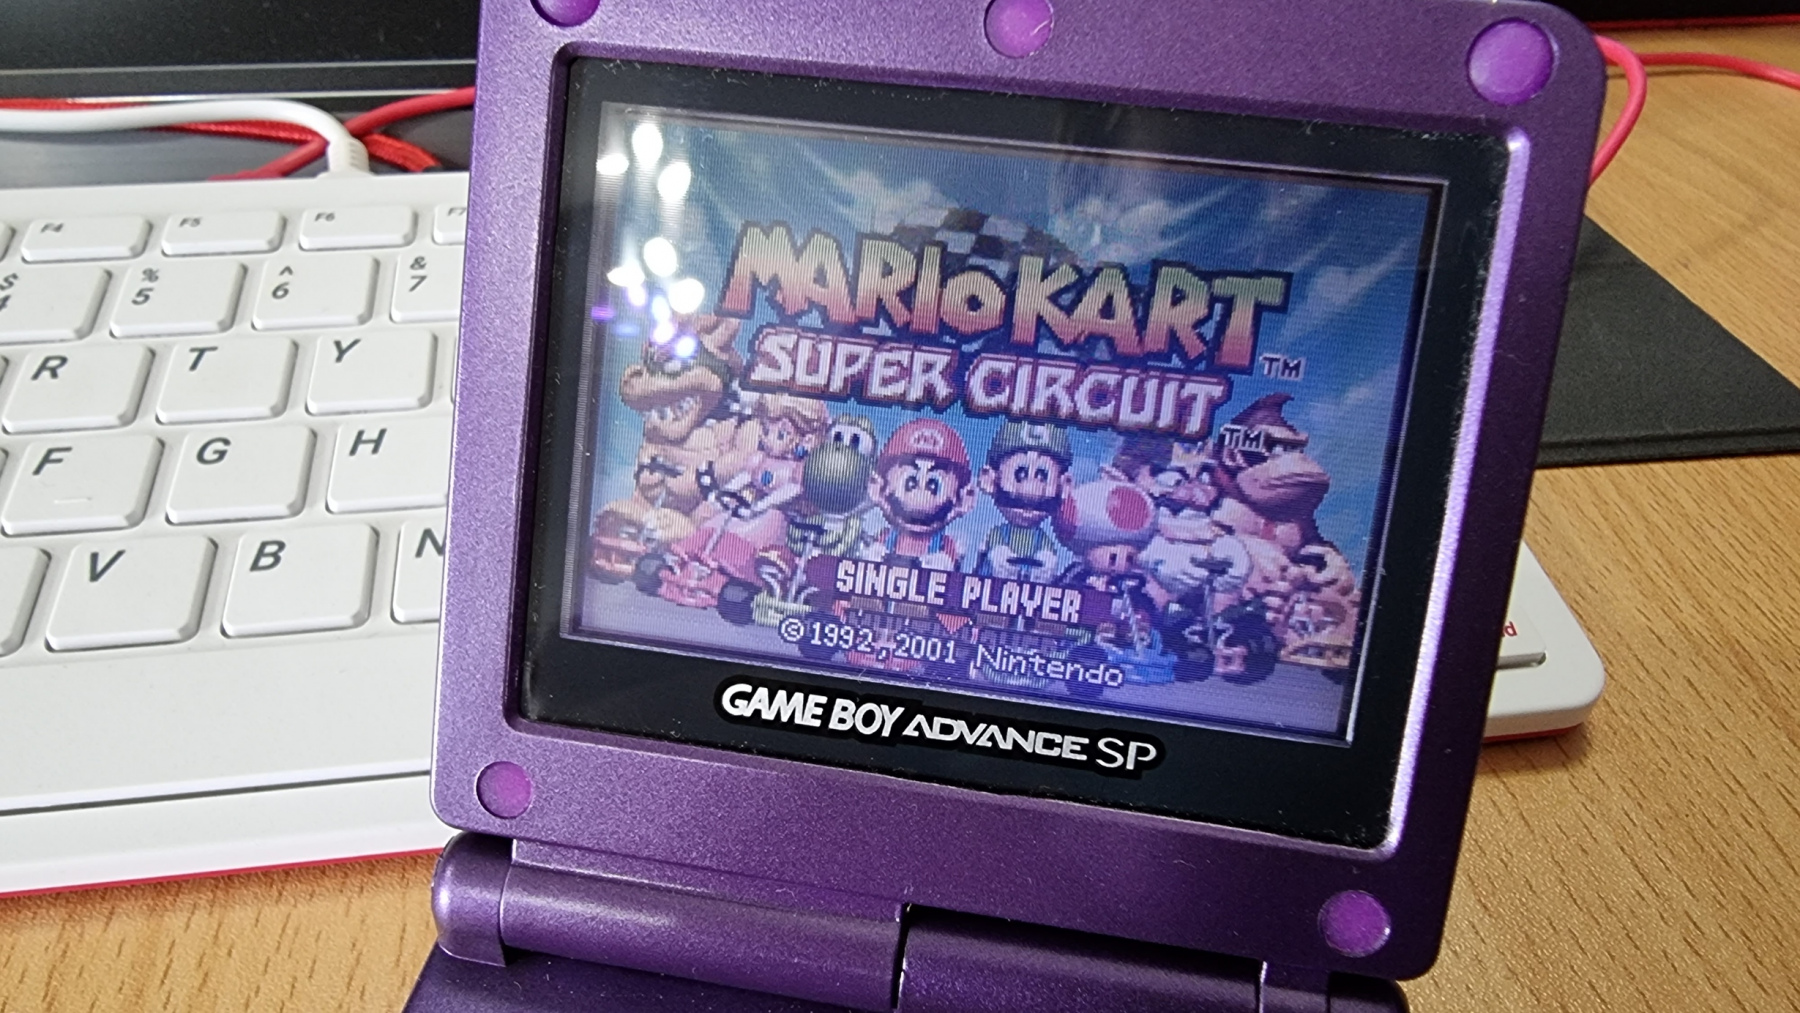
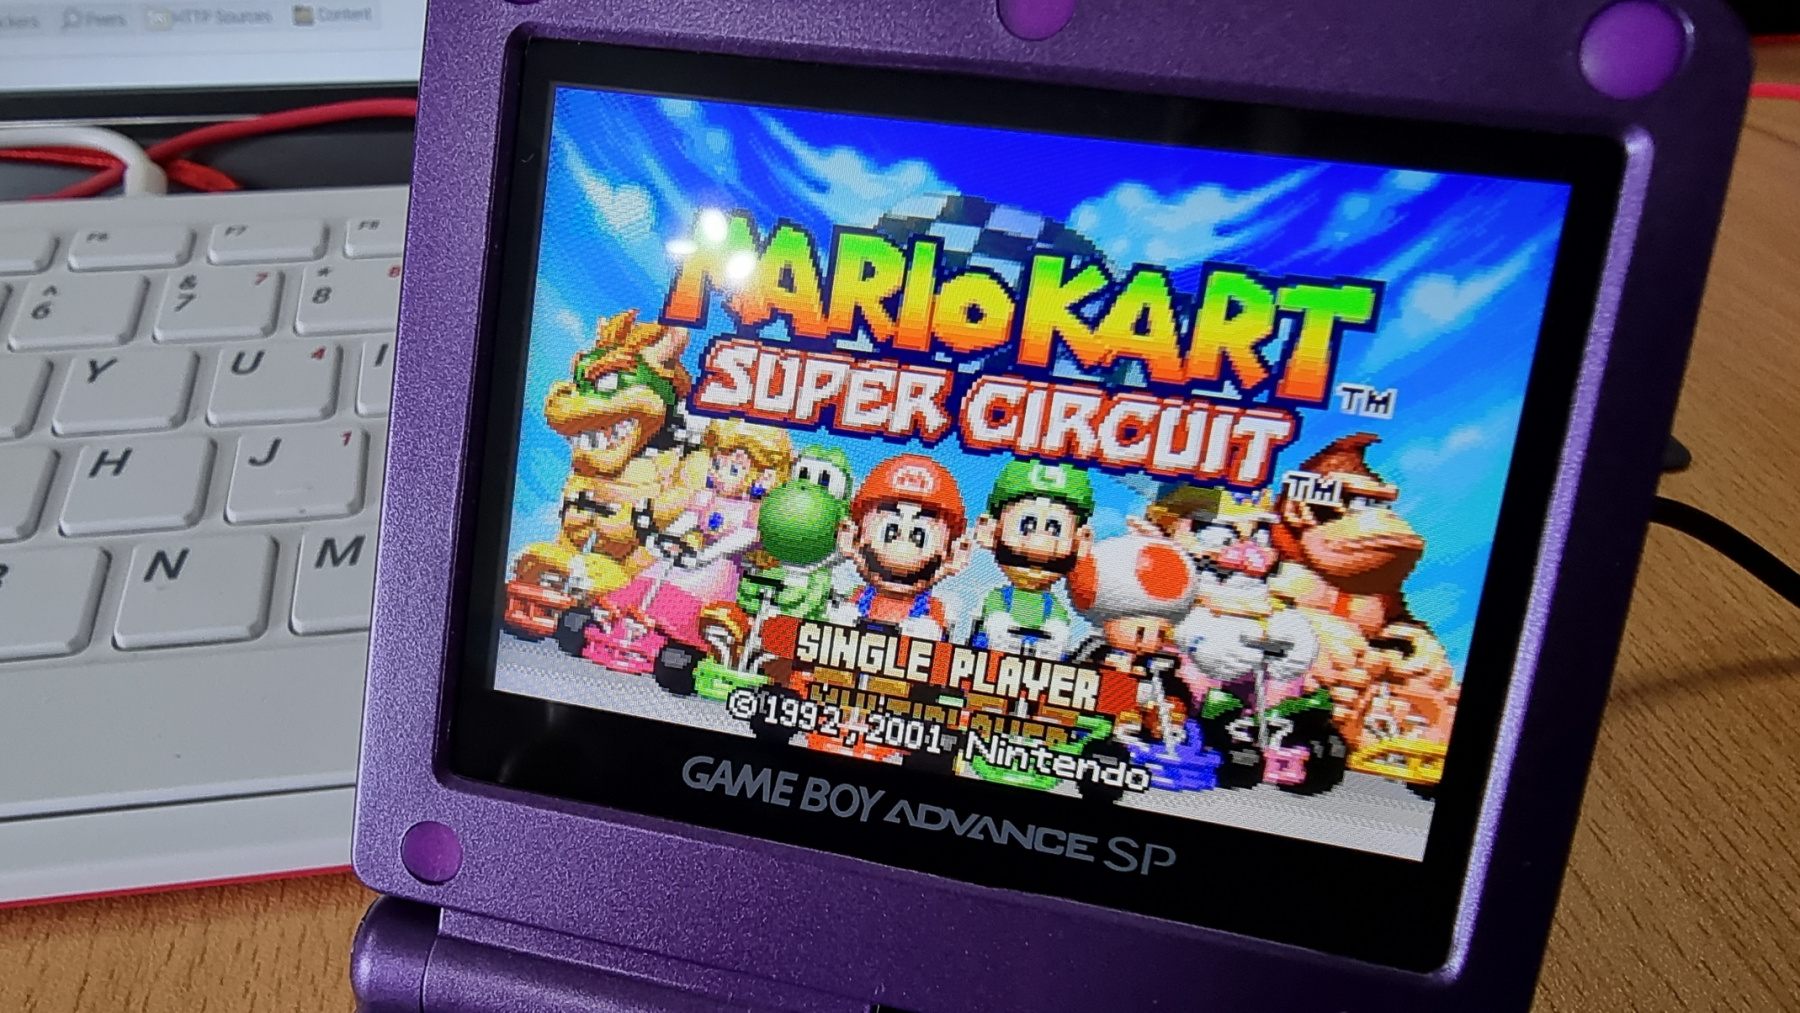
After fitting a new case to my £4 car boot find GBP SP, it was looking as good as new. But the screen on these things isn’t exactly the best. They are front-lit LCD screens and as such, they are not very vibrant. Since this GBA SP was never going to be kept as an original example of the console, I decided to treat it to a modern LCD replacement.
Click the images below to see a close up of the picture quality.
This screen was £31 from China and I think the results speak for themselves. It looks gorgeous now and has become a very useable device.
Fitting was very easy and no soldering is actually required, but you can solder a single wire to have the brightness control working. I also had to do some minor modifications to the insides of the case to allow the top part of the shell to close together. But even with that, the fitting took no longer than 30 minutes.
So I was having an evening messing around with the CD32 and installed an ESP8266 unit inside it so it would connect to my Wi-Fi. I had everything all configured and was just about to start testing when my screen went white. I powered off the CD32 and powered it back on, only to get a blank screen, no sign of booting and the CD drive was not spinning up either. I was not very happy!
Anyway, I made my way to google and had a search around and came across a page that was talking about a voltage detection circuit on the CD32. This circuit made sure that 5V was present on the board and if it wasn’t it would halt the startup of the machine. This seemed to be a possible candidate for my issue so that was where I started.
Firstly I checked that the power supply was supplying the 5V which it was. I then checked various locations on the board where 5v should be present and they all checked out too. So it was now time to concentrate on the reset circuit.
I grabbed the schematic for the CD32 and found the circuit diagram for this part of the machine:
According to the article I read, U14 could sometimes be faulty and could cause this issue. But to test this I measured the voltage that was entering U14 on pin 2. This should measure ~5V but instead was measuring 3.7V, because of this, pin 3 was LOW, and therefore the machine would not boot. To test this out I grabbed a jumper wire and connected a known 5V source up to pin 2, immediately the green light went bright and the CD32 booted. So now I knew the issue, but what was the problem? There are only a couple of components before U14 that could affect the voltage, a 10k resistor, and a 0.47uF capacitor. I have seen many electrolytic capacitors fail before but this one was a small surface-mount capacitor. It still seemed like a likely candidate though so it got swapped out.
And after re-assembling enough to test the machine, sure enough, it fired back into life. I was so happy that I managed to recover the machine as I’ve really enjoyed messing around with it. Now back to connecting this Amiga up to the internet at a staggering 115200baud 🙂
One question I get asked a lot is what method I use for retr0brighting my computers/consoles. I have experimented with various methods over the years but this is the one I settled on.
Now my GBA SP is all charged up and working, it needed a new shell to bring it back up to showroom condition. There is a huge selection of shells available on eBay for around £12 each. I decided to go for a nice clean purple case. It’s actually a pretty easy job to swap the insides on this console so if you have an old SP lying around it may be time to give it a new wardrobe.
The next question is do I keep the original screen or replace it with a modern IPS screen 🤔
I was meant to post this a week ago but was busy building up the new display unit, so it got forgotten.
Anyway, the good news is the CPC464 lives again! I stripped it all down and checked the temp of all the chips on the board and found one of the memory chips was getting very hot so that was the first job, removing all the current chips, replacing them with sockets and then fitting the new memory chips.
After this, I powered it back up but unfortunately, there was still no picture. No other chips seemed to be getting very hot but maybe the Z80 was getting a bit warmer than I expected. I swapped this over with the Z80 from my Speccy +2 though and found that wasn’t the issues either.
So at this point, I dragged out the oscilloscope and after watching some youtube videos I started to check things like the clock signal for the Z80. That checked out fine, but the data lines on the Z80 were dead and I was seeing weird 1Mhz signals dotted over various different pins. After some discussions on forums, it seemed like the Z80 was getting stuck in a loop and not running correctly. But the Z80 only runs what it is told, and that is the job of the ROM chip.
So next step was removing the ROM from the board, at this point, I placed it into my EPROM programmer and read the contents of the chip to see if it matched the original ROM file. The result of this was a chip apparently filled with “FF”. So no ROM code on there whatsoever. This chip is fried!
A new blank EPROM chip was purchased next and then programmed with the original ROM file A socket was then fitted to the board and the new ROM chip inserted. And the result of this? a working CPC464!!!
I still need to give the computer a proper clean so will be stripping apart again soon. I also hae a new drive belt for the tape player to go on (although the current one is actually still working). The tape counter button is also jammed so will look at this and may need to 3D print a new part on the resin printer to get this bit fixed.
All in all, I was pretty happy with my first computer repair. I have now placed the CPC on my new display unit and am actually going to use it with the green screen monitor as it really seems to add to the experience. The only issue with this setup was the cables are not very long from the monitor to the computer so I ordered an extension for the video and the power which I am still awaiting the arrival of the video extension. But everything else is in place and ready to go 🙂
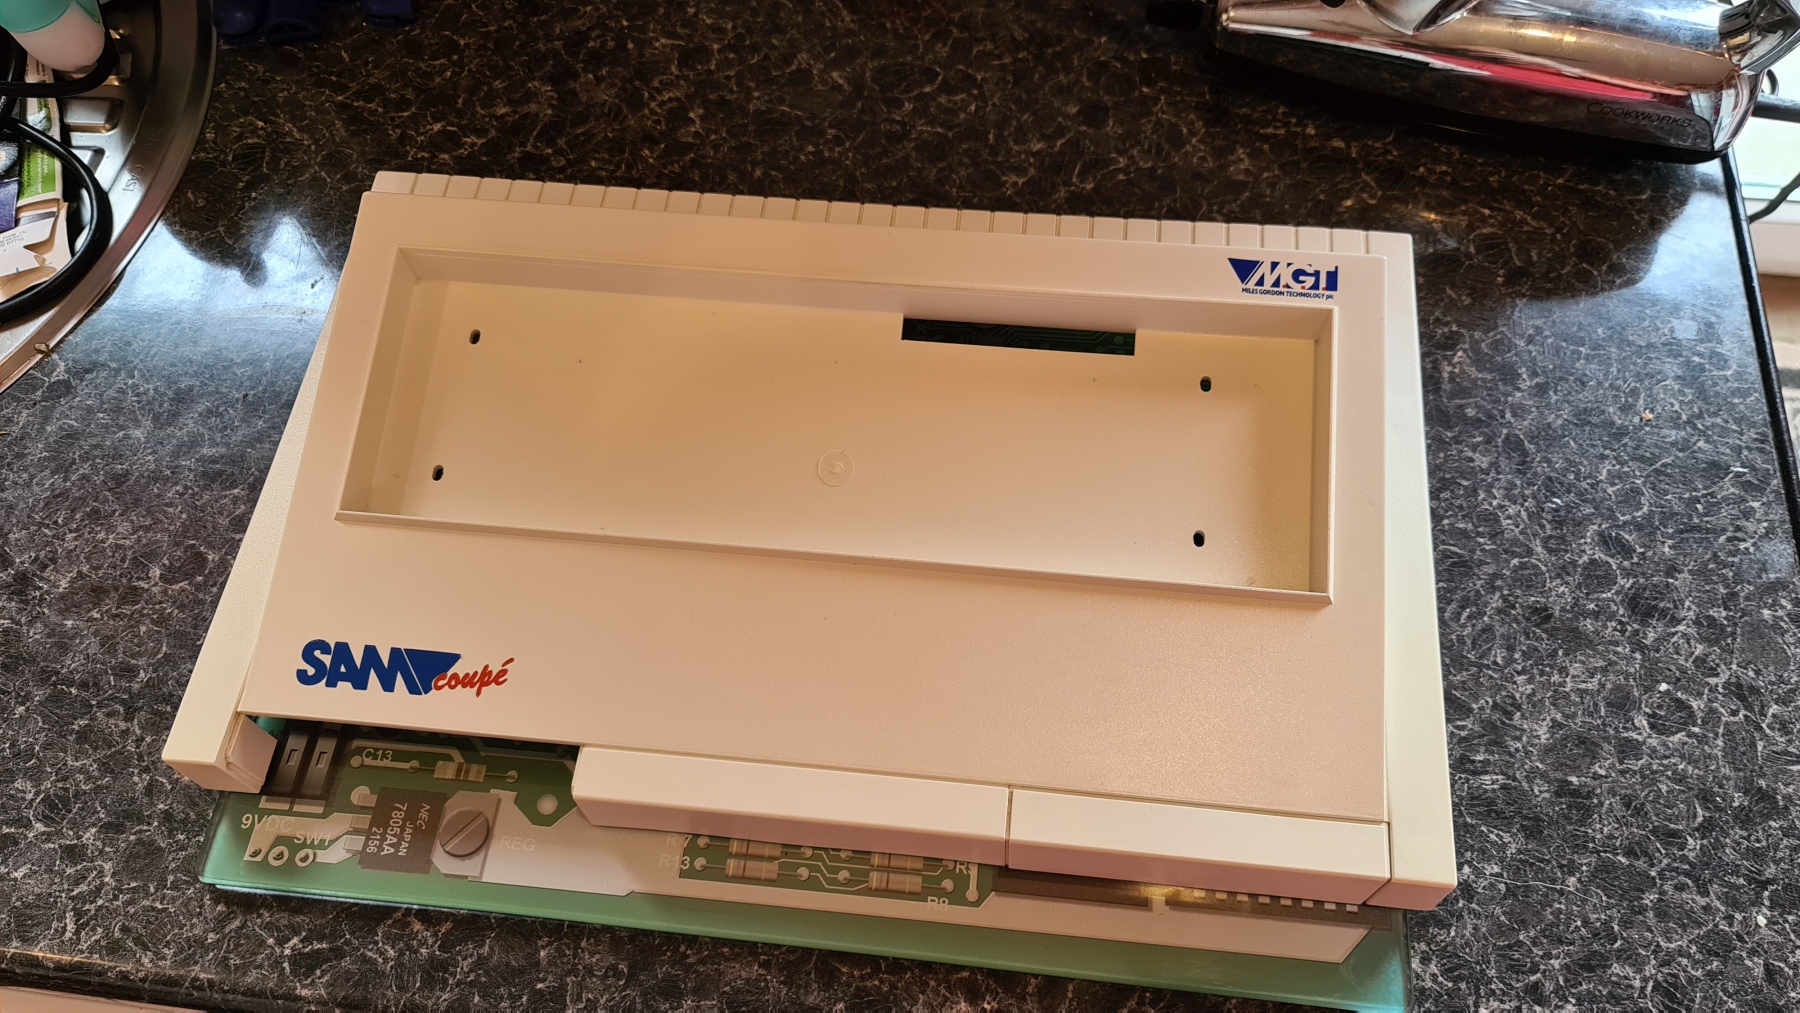
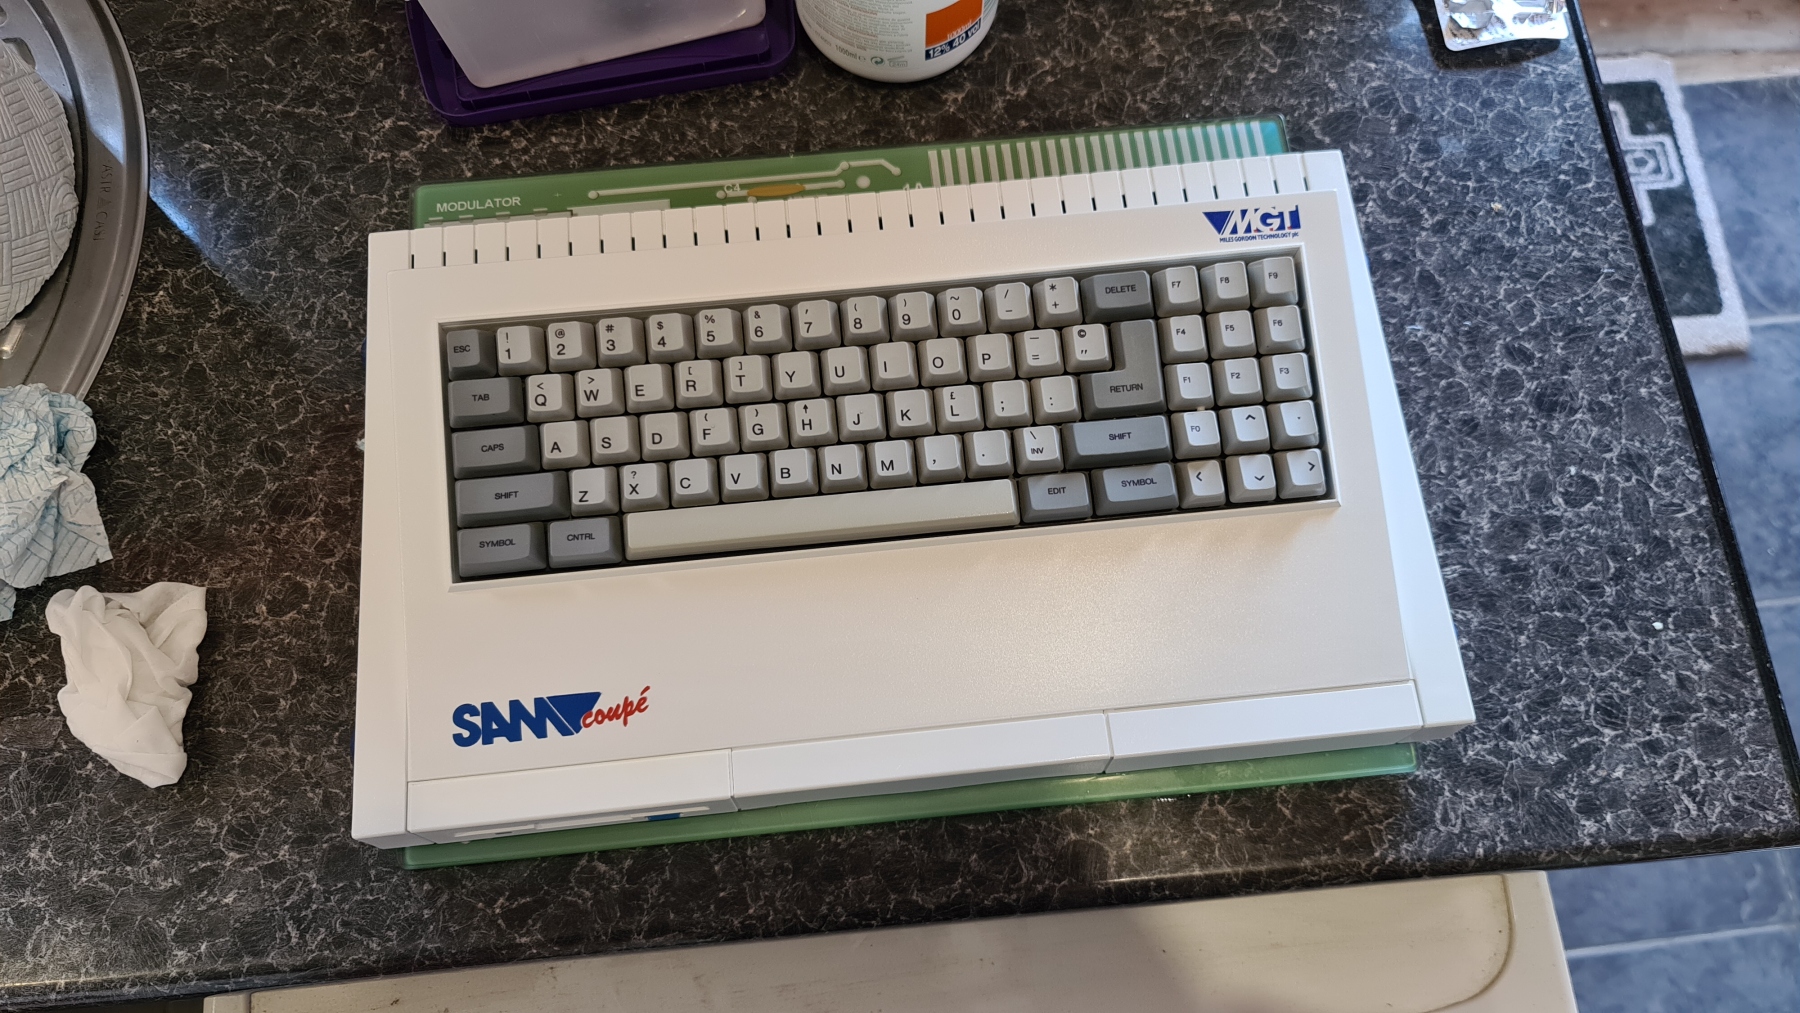
The Sam had started to get back a bit of his yellowing so I gave him a night under a UV lamp and some hydrogen Peroxide cream to restore him back to with former glory. Something very satisfying about doing this process.