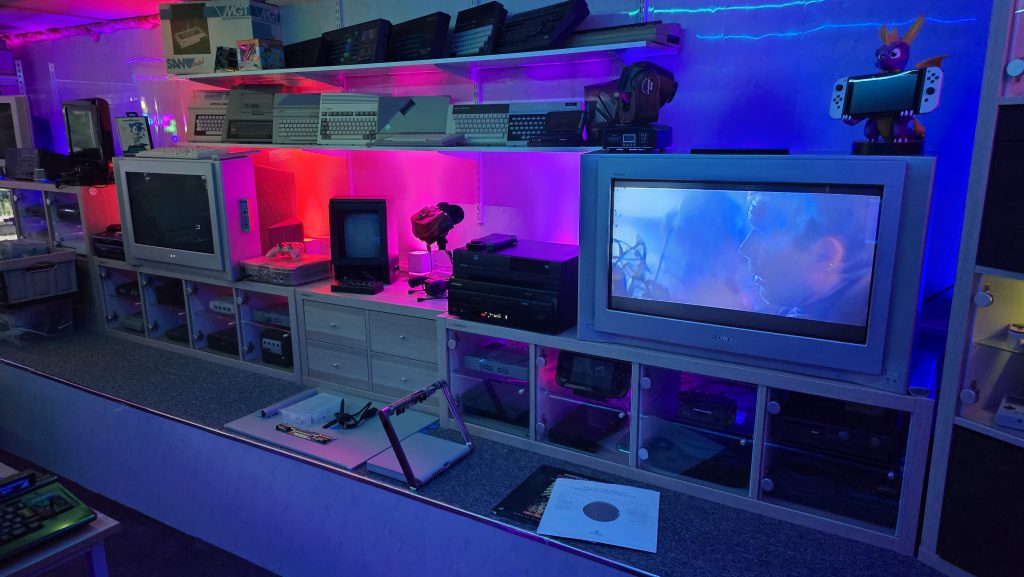
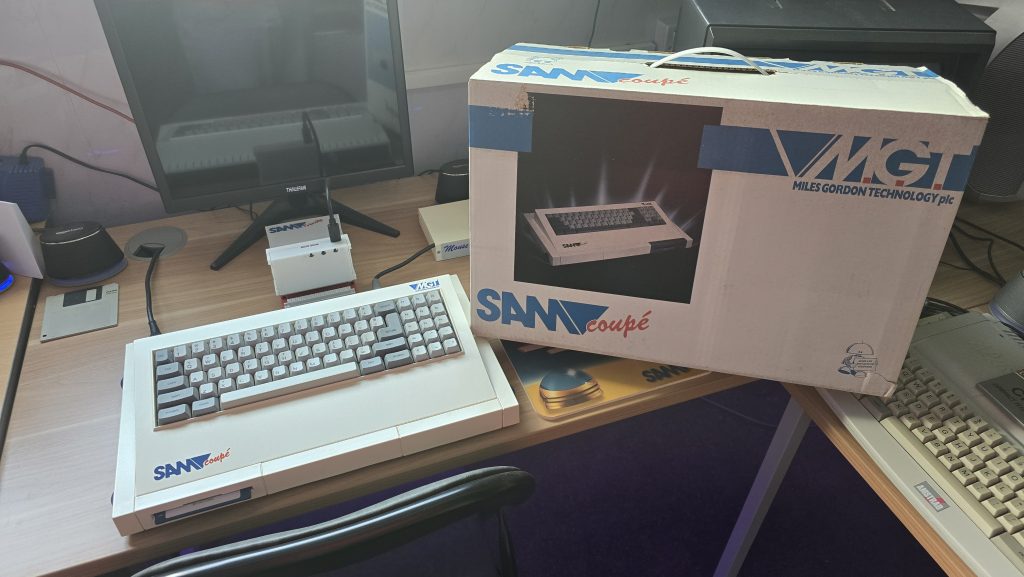
A few weeks back, I went and picked up a bunch of computer systems that used to belong to a friend of mine. To help out his family, I said that I would test them all out and then look to sell them on their behalf.
The first of the systems I looked at was a fully boxed Atari 800XL. This was complete with its power supply, manual, boxed tape recorder and a few games.
Connecting the computer up for the first time confirmed that this unit was going to need a repair. The unit booted straight into the ROM/RAM test screen without having the option key pressed.
For those that don’t know, if you hold the option key when turning on an old Atari, it will go into a self-diagnostics mode where you can test the ROM/RAM/sound and keyboard.
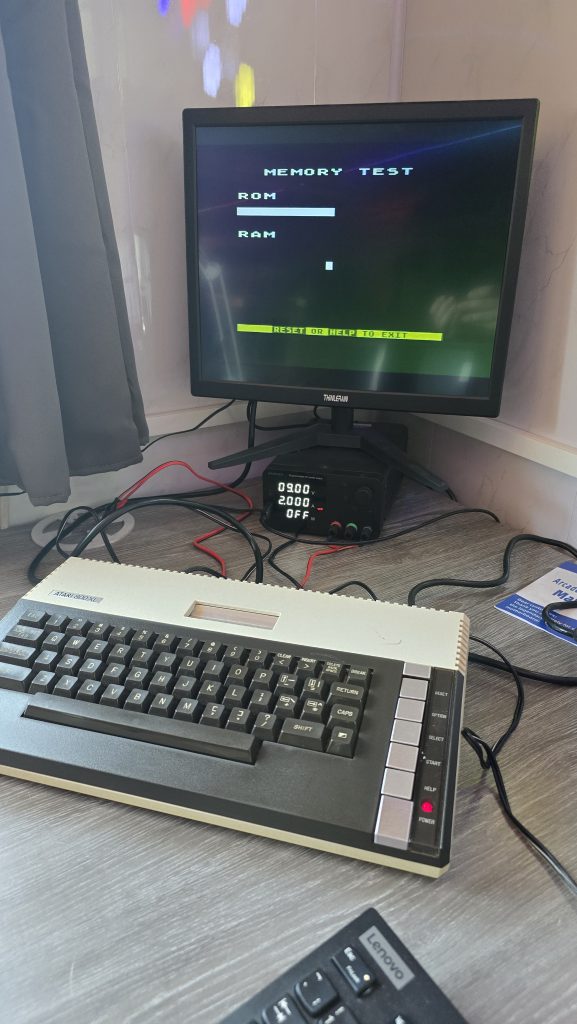
The issue that now presented itself was that the ROM/RAM test was not actually running, and the screen just stayed stuck showing the screen above.
In my tool kit, I also own an Atari SuperSALT Diagnostic cartridge, so the next step was to give that a go.
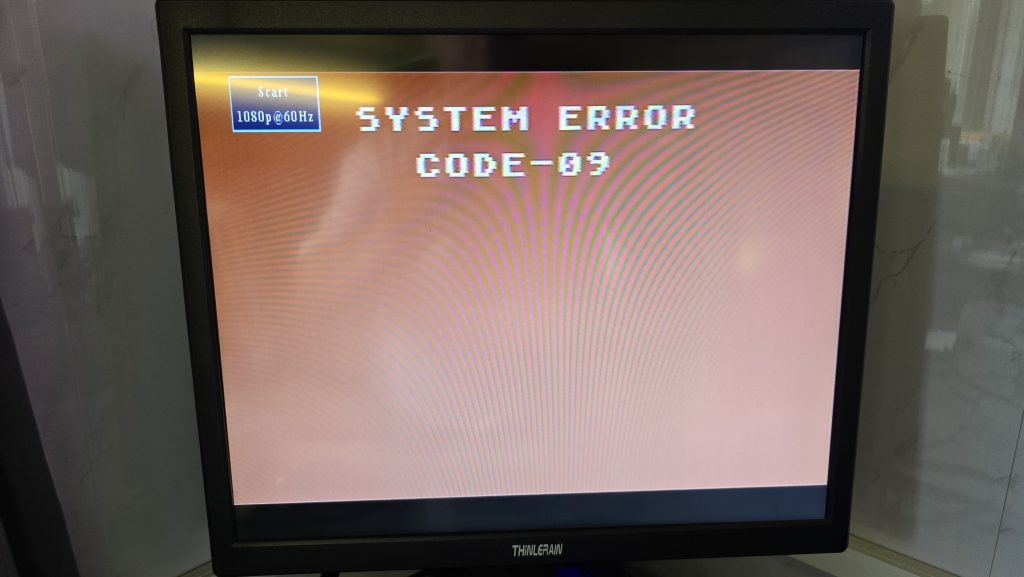
Well, that was helpful wasn’t it! I couldn’t find any reference to this error anywhere, so I think roughly translated, it is saying your computer is broken and needs to be fixed!
Time to take the computer apart and see if we can see what is going on.
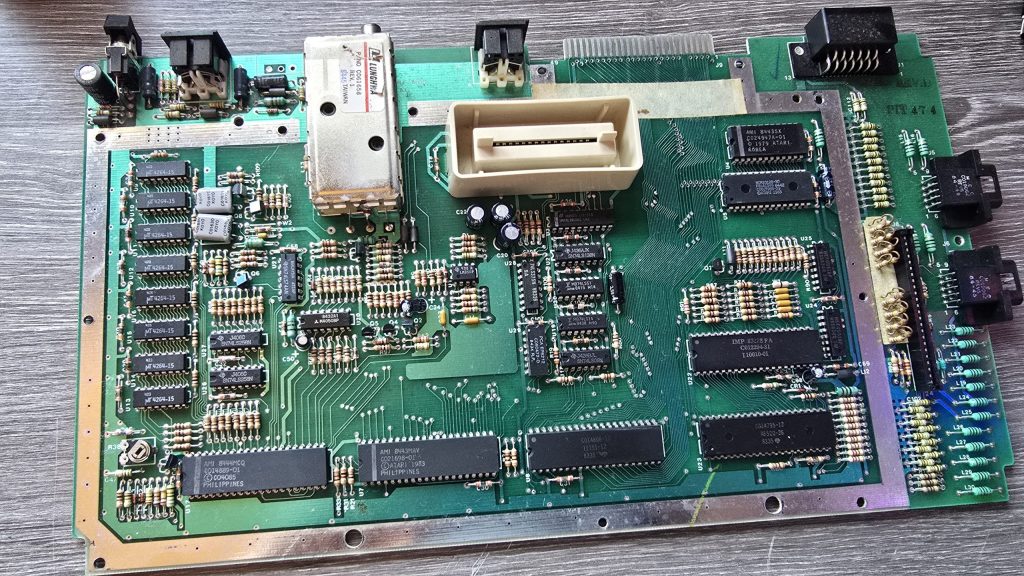
Everything is looking clean in here, but the first thing I spotted was MT branded RAM. This is known to fail, so at this point, I would put my money on that being the issue. But before we jump the gun, I tested the voltages, the reset signal, the clock signal and then scanned down all the address bus and data bus pins. All of these signals looked good, so it was time to start removing RAM chips.
I started at the top, unsoldering the chip, fitting a socket and then testing it in my RAM tester. If the RAM chip was bad, I put a new one in its place and then tested the computer again to see if anything had changed.
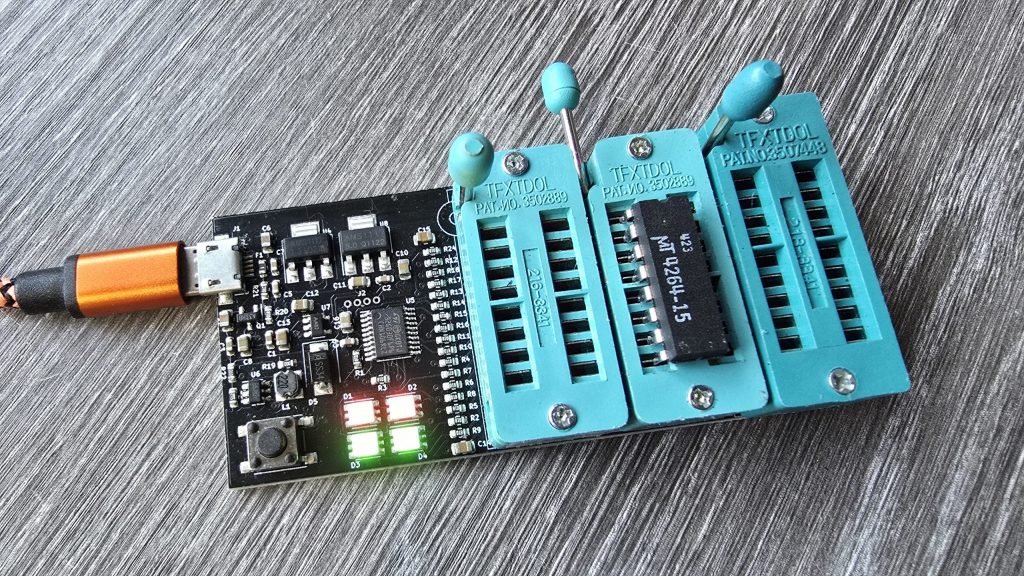
After replacing the first failed RAM chip, the computer was powered on again, and this time the ROM tests passed. The memory test ran but failed significantly. At least we are on the right track though!
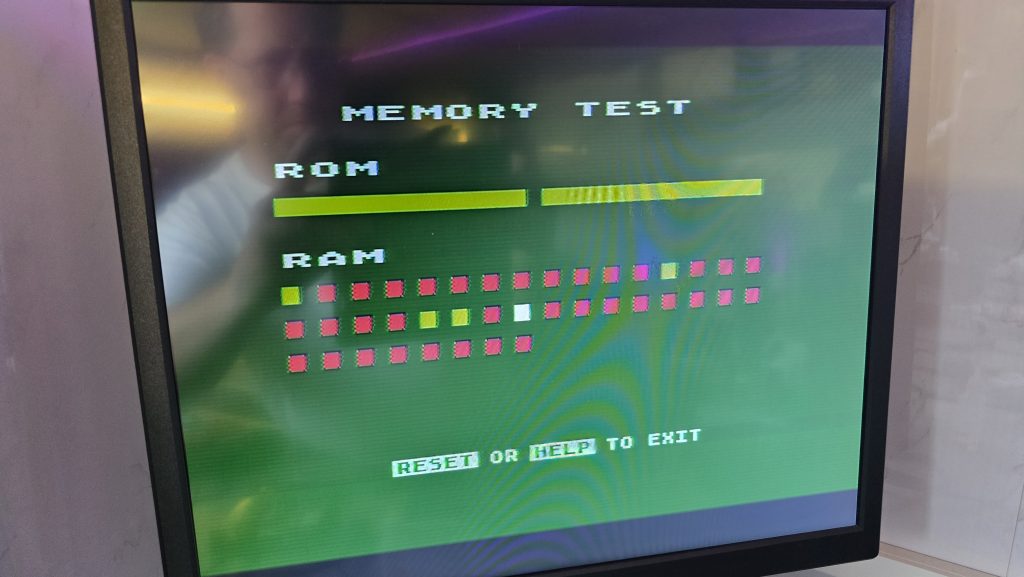
I did a look around, but I couldn’t find any reference as to how the red dots above related to the physical RAM chips. So, apart from it indicating that there is a RAM failure still, it wasn’t of much use.
So I continued running down the chips, and after replacing the second-to-last chip, I powered on the computer and was greeted by a nice blue screen with the ready prompt.
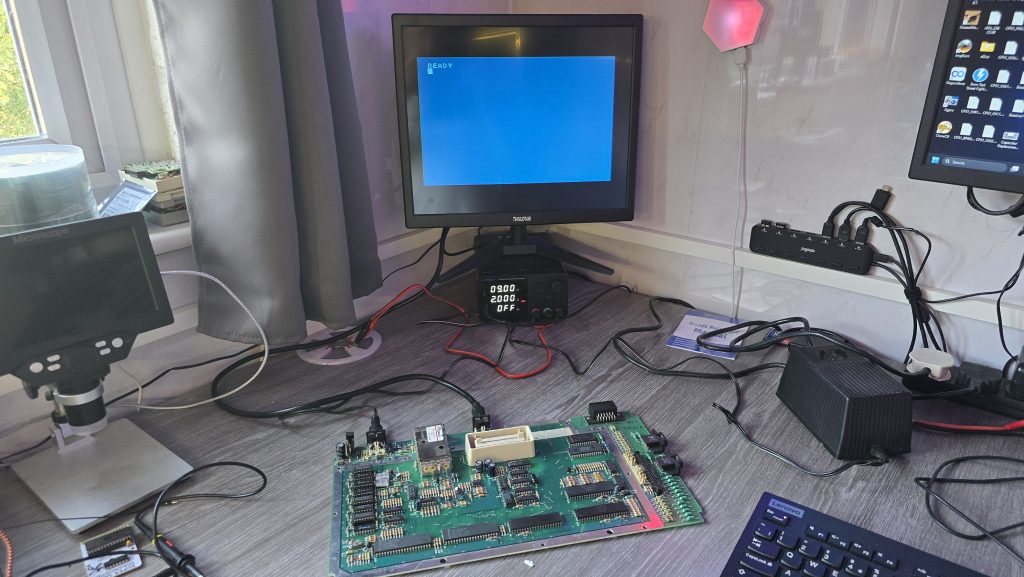
I rebooted the computer and held the option key this time to force diagnostics mode and confirmed that the RAM test now ran all the way through.
I then moved on to the sound test, which passed, and finally the keyboard test. But here we hit our next issue. Keys ASDFGH are not working. I checked the ribbon cable and put some de-oxit in the socket, but this didn’t help.
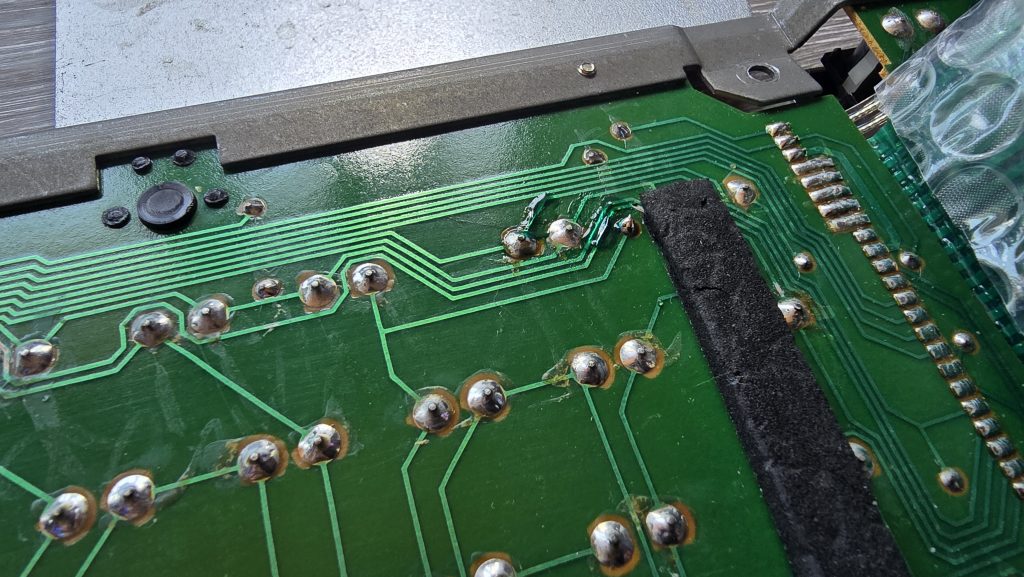
I checked the traces from these keys to find which trace was common between them all, then with my multimeter in continuity mode, I followed the trace and worked out the rough area where the connection was broken. The odd thing was, it actually looked fine. So it was time to give my ageing eyes a rest and drag out the microscope.
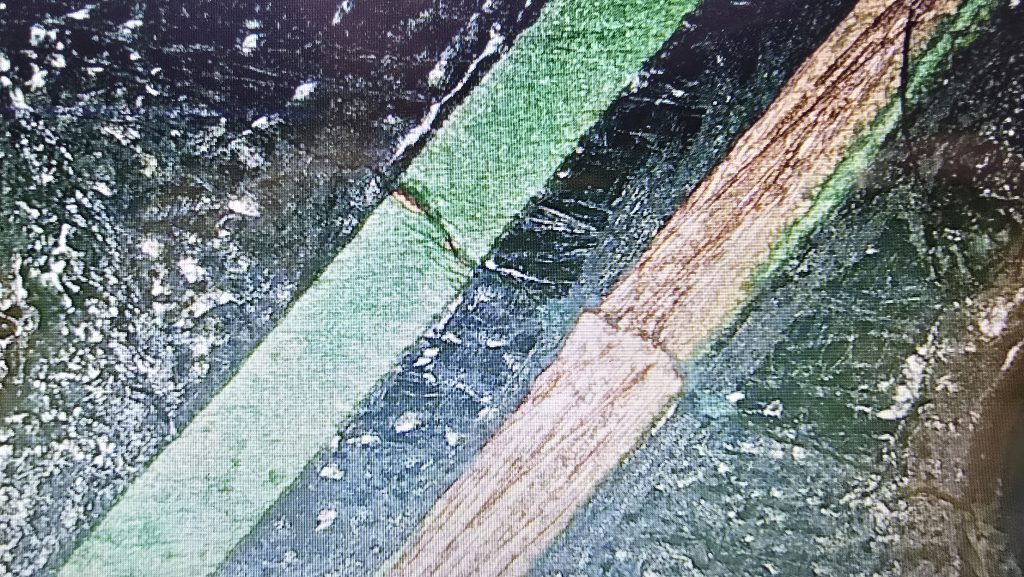
There you are, the tiniest of cracks on the PCB. I’ll forgive myself for not seeing this without the microscope! A quick repair job later, and continuity has been restored.
A quick final test of the machine reveals we now have a fully working Atari 800XL.
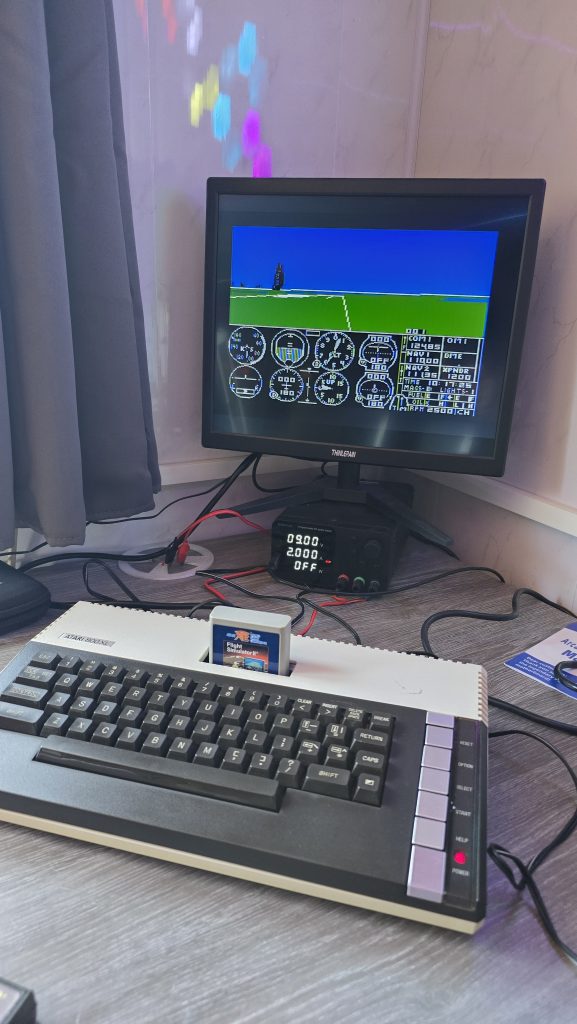
So, the only things wrong with the machine in the end were 4 RAM chips and a small crack on the keyboard PCB. The total cost of the repair was around £13 for the RAM chips.
I will now clean the computer up and test the tape drive and the games. If everything is good, then this machine will be going up for sale soon. I’ll probably list it on eBay, but will also add it to the shop on this site with a slightly lower price if anyone wants to pick it up.
I’ve also listed some new old stock joysticks on my shop, so if you want an Atari/Commodore Joystick, be sure to check that out.
My next repair will be the BBC Model B, which just powers on with a long continuous beep. Stay tuned!