So when I came across a Facebook post advertising an Iomega Zip100 for £15 I just couldn’t resist it. I always wanted one back in the day but they were expensive and my pocket money just wouldn’t stretch that far!
During the purchase process, someone else happened to mention that you could get this device to work on the Atari Portfolio. Well, this piqued my interest somewhat. I love connecting devices together that weren’t really designed to work together. Realistically I can’t think of why you would have wanted to connect a zip drive to a portfolio back in 1994 when the zip drive was released. Each disk can hold 100mb of data which is far more space than you would ever need on a Portfolio.
I already have a memory card for my portfolio and that is a massive 128kb, so why would I need this extra space? Well one thing that can be achieved now is that you can easily fit the entire library of Atari Portfolio software onto a single ZIP Disk. So that sounds like something that I want to do!
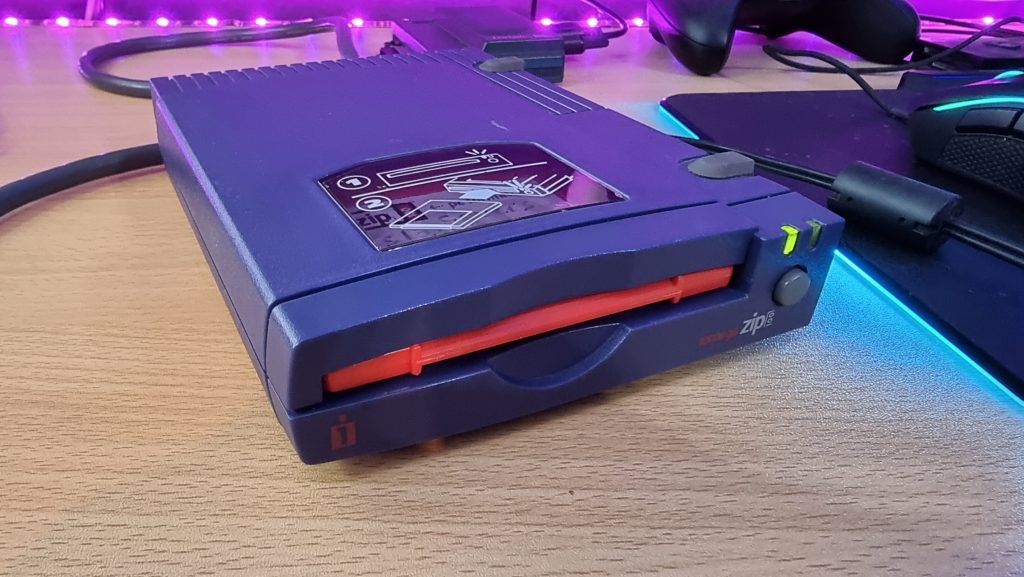
So what do we need to achieve this? Well, firstly we need an iomega 100mb zip drive that uses the parallel port. The more modern versions of this drive will not work and apparently the newest versions of the Zip100 won’t work either so this makes getting the correct drive a bit of a guessing game. Luckily the one that I got does work fine.
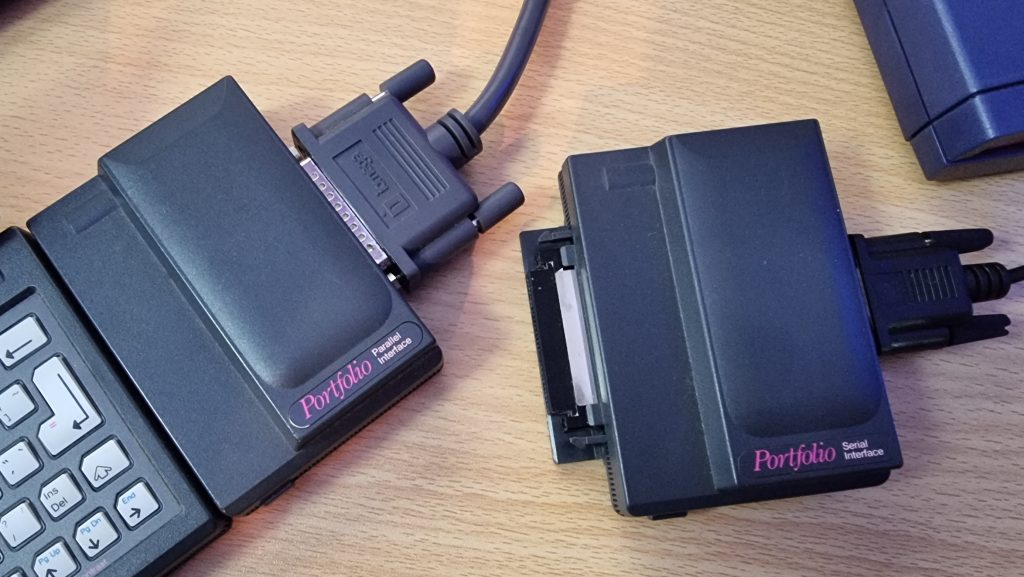
The next thing you will need is the parallel port adapter for the Atari Portfolio. These are pretty rare but I believe you can still buy them from http://www.best-electronics-ca.com or lookout on eBay.
You will also need a method of transferring some software over to the Portfolio. Now you can use the same parallel interface as above for this purpose and there are some guides online on how to do this. Unfortunately for this to work you will need a PC with a built-in parallel port (not a USB to parallel cable, these won’t work). At this moment in time, I don’t have a PC available as I am awaiting some parts. Luckily I also own the serial port adapter for the portfolio and you can use that with a USB to Serial cable on a modern PC.
The final part of the puzzle then is the software required to get the Portfolio to see the ZIP drive. And this involves installing a driver on the Portfolio. This driver is the key to this all working and was written by Klaus Peichl. To obtain the driver you need to pop over to his website (link). The driver itself costs 8 Euro to support the development of this software. To get the driver simply send him an email and he will send you an evaluation version of the driver so you can make sure it all works for you before spending any money. So if you are unsure if your drive is going to work then this is a no-risk way of testing it out.
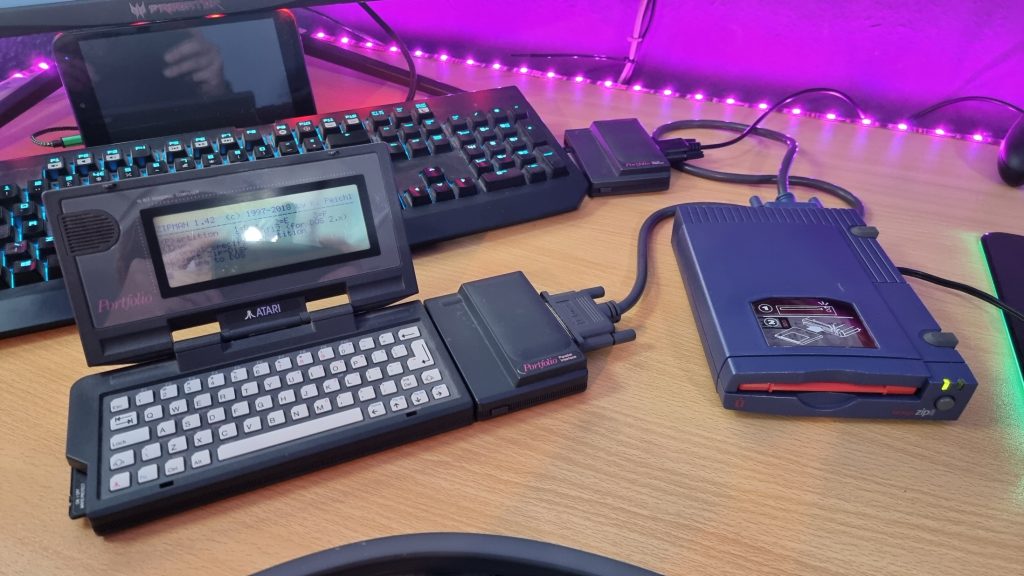
So once you have sorted your method of transferring the software over to the portfolio you will need to copy over two files. The first is the driver which is pofozip.sys and then you will need an application called zipman.com which will allow you to format the zip disks so they are readable on the Portfolio (The Portfolio has a maximum disk size of 32mb so this software will split the disk into 3 partitions).
Once you have both of these files in the root of the C: drive on the portfolio you will need to configure it to load the driver on startup. To do this press the Atari key + E to open the editor. In the editor window type:
device=c:\pofozip.sys /F /$
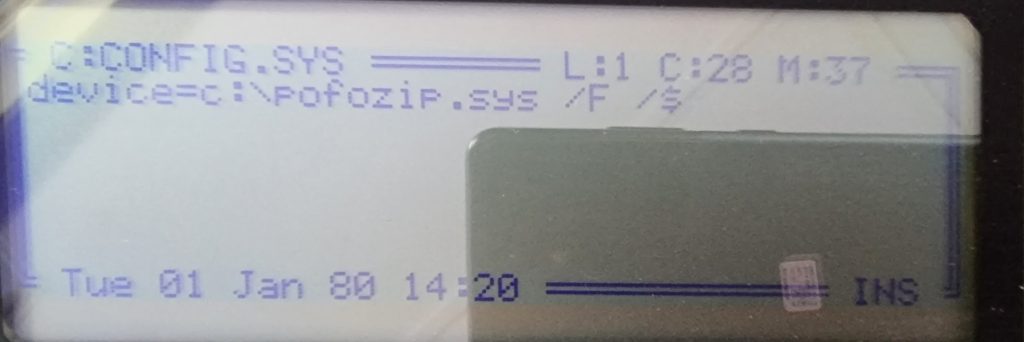
Then press F1, goto Files, select Save As and call the file config.sys
Once saved press CTRL+ALT+DEL to reboot the portfolio and load the driver. You can now launch the zipman.com utility to prepare the disk.
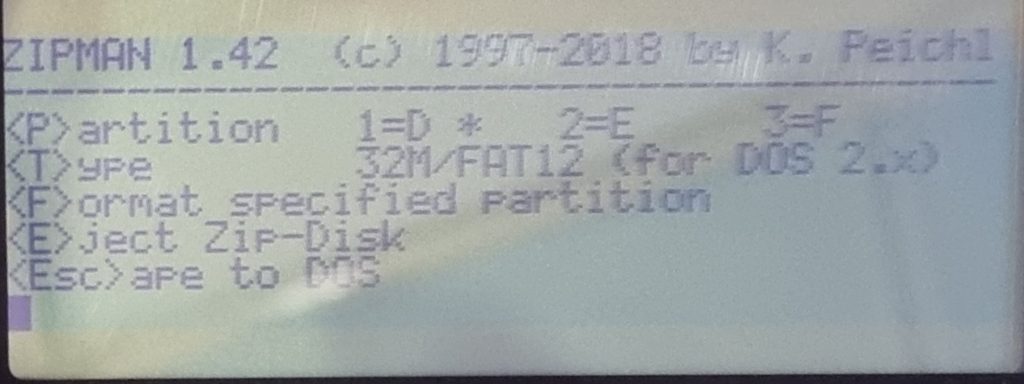
Once you have loaded this insert a blank zip disk (or one you are happy to wipe). Then in zipman select F to format the first partition. Once done you can press P to select the next partition and then press F to format that one. Repeat for the final partition also. At this point your Portfolio will have a D: E: and F: drive of 32mb each 🙂
At this point, there are a couple more files that we want to transfer over to the Portfolio and these are ATMD.COM and MDEXTERN.COM. You can copy these onto the ZIP disk using your PC or transfer them like we did the files earlier. Grab the files from here.
ATMD.COM is a replacement for the mkdir/md command on the portfolio as that has a bug in it which can cause file system corruption. So don’t create directories from the Portfolio using the mkdir command! Creating folder structures on the PC side of things will work correctly without any issues.
The second program MDEXTERN.COM is a re-director program so once this is running (we can add it to the AUTOEXEC.BAT to run on startup), when you run the mkdir/md command it will actually run the above ATMD.COM command instead. This keeps things nice and simple for us and also stops any compatibility issues with software that has already been written to use the DOS based command.
So once we have these two files on the portfolio you want to copy them into the C:\SYSTEM folder. So go to where the files are currently located and use the DOS based copy command e.g. copy mdextern.com c:\system\
Now both file are in the system folder we can load them via your autoexec.bat file. Open the Editor program again by pressing the Atari key + E. Then press Fn+1 (F1) to open the menu, select files and choose load. Type the filename as c:\autoexec.bat
At this point it will either load the file or say that the file is not found (you may not have an autoexec.bat yet). If this is the case then press the Esc key twice and select New instead.
In this file you now want to add the following lines:
c:\system\mdextern.com c:\system\atmd.com
cls
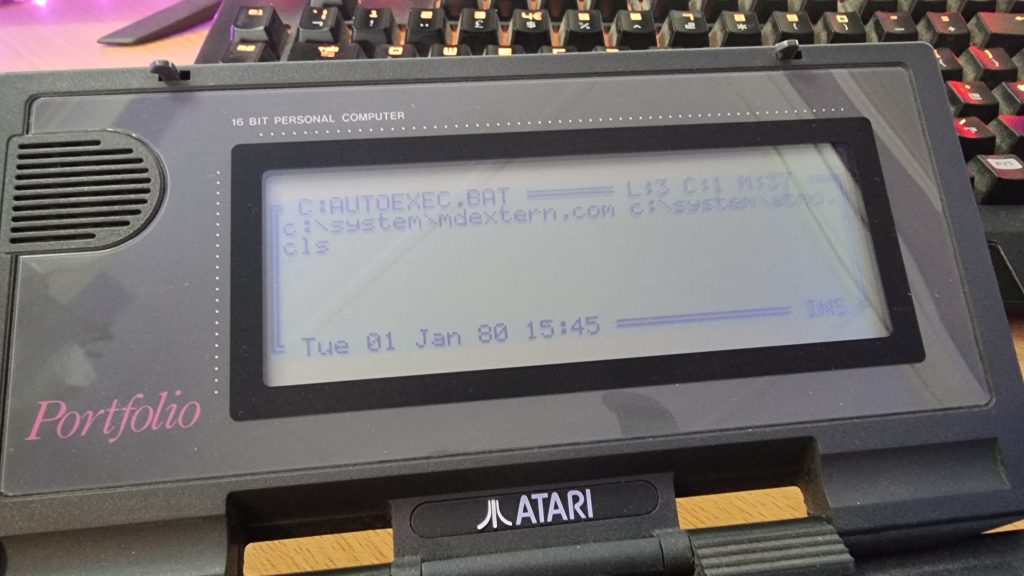
Once these lines are added then save the file by going back into the menu to the Save As option and type c:\autoexec.bat as the filename.
To complete this section do a CTRL+ALT+DEL again to reboot the Portfolio.
OK so we are now all running on the Portfolio and you can go ahead and transfer the rest of your Atari Portfolio software onto your ZIP disk using a PC (with a physical parallel port as USB to parallel cables will not work). I have labelled my 3 drives as Games, Apps and Dev (for storing my own BASIC programs etc) just to try and keep things organised.
So far everything has been working perfectly and for me, this is a really neat way of storing all of your portfolio software using hardware available from the same decade.
A big thank you goes to Klaus Peichl for writing all the software required to get this working. It’s really great to see people still developing for these older systems and it’s what keeps me interested in the hobby of retro computing.
I hope to make a video for YouTube in the near future where I will go through this whole process including transferring the software over to the Portfolio. Keep an eye on my blog for any updates.

Be the first to comment