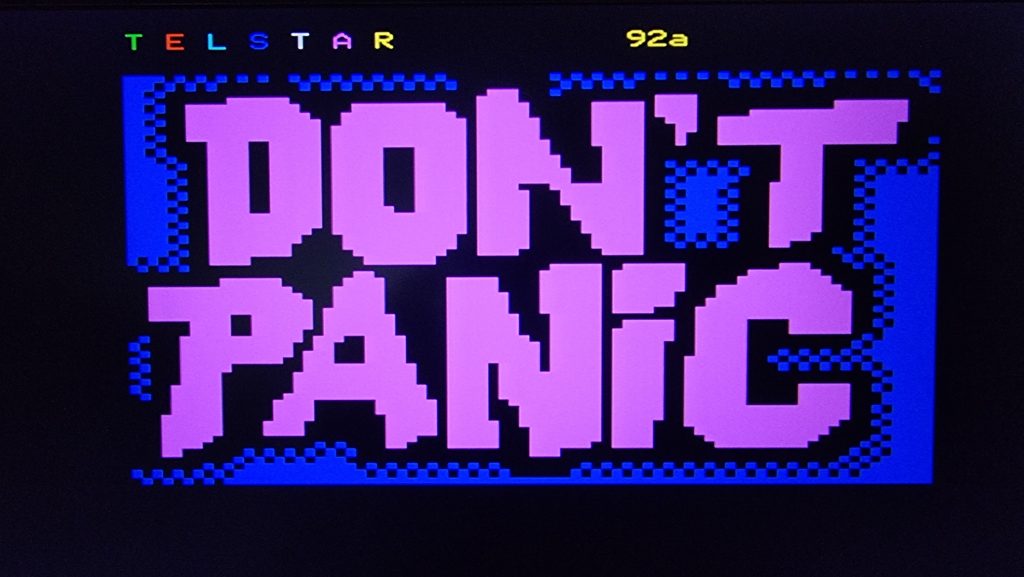
So one of the things I love doing with these old computers is connecting them to old Bulletin Board Systems (BBS) and other networked services from days past.
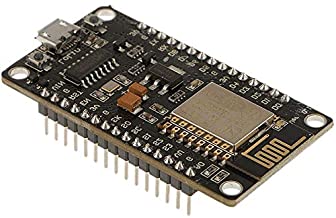
The device I use for this is an ESP8266 NodeMCU development board running the ZiMoDem firmware. Connected to the computer via the serial port this device then acts like an old telephone modem that was used to interconnect computer systems. The difference being that the ESP8266 also connects to your WiFi so there is no longer a requirement for an analogue phone line.
Using these devices I have connected various old systems such as the C64, Atari Portfolio, Amiga and the BBC Micro.
So although in this guide we will be going from start to finish with the BBC, the actual modem you build will work with all systems. The only thing that will change is the cable used to connect the modem up to the pc and the software that you use on the computer.
So first we need a parts list and it’s pretty simple. Grab the following items:
- ESP8266 NodeMCU-12E Board
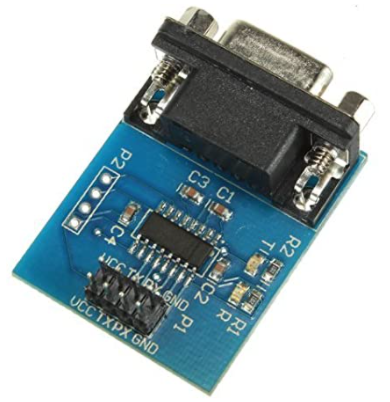
- MAX3232 TTL Serial port to TTL adapter
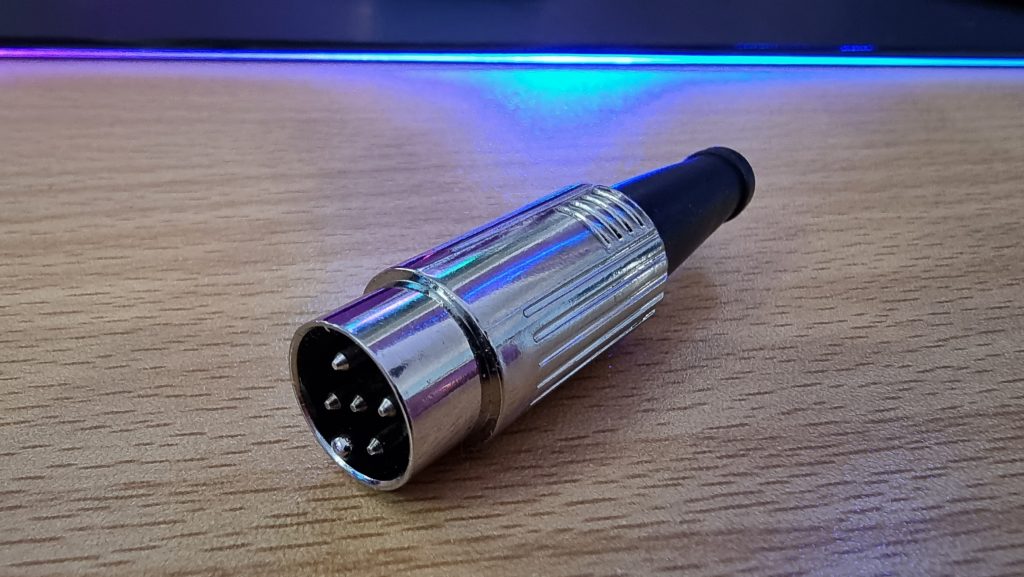
- 5 Pin Domino Plug
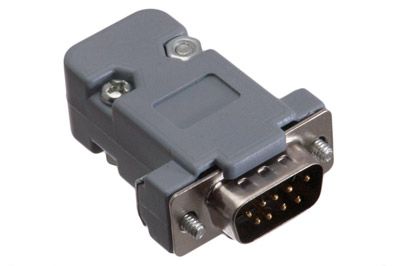
- A male 9pin DB9 plug
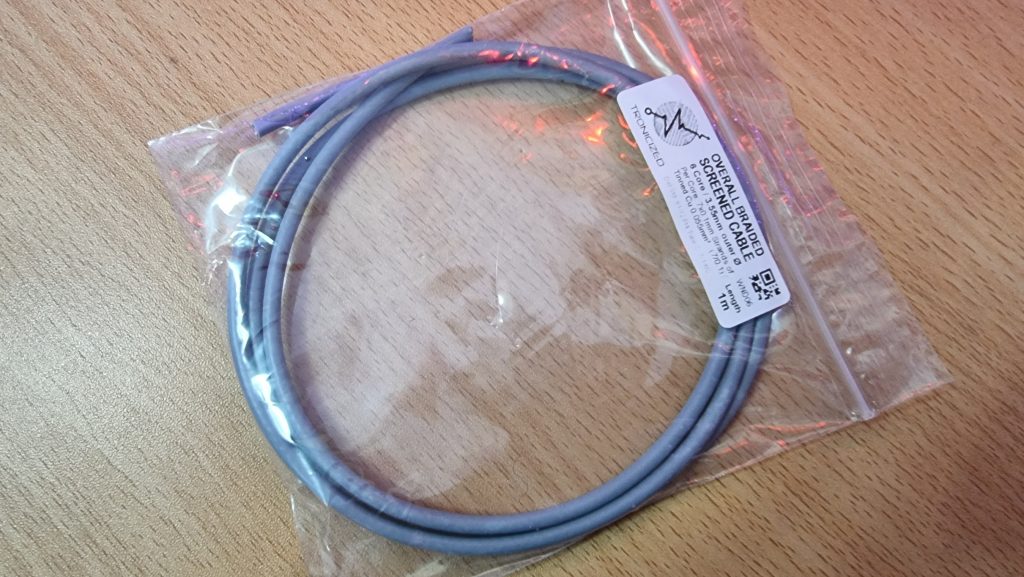
- A 1m length of 3+ core cable (we only need 3 cores but you can use cable with additional cores if you have some laying around)
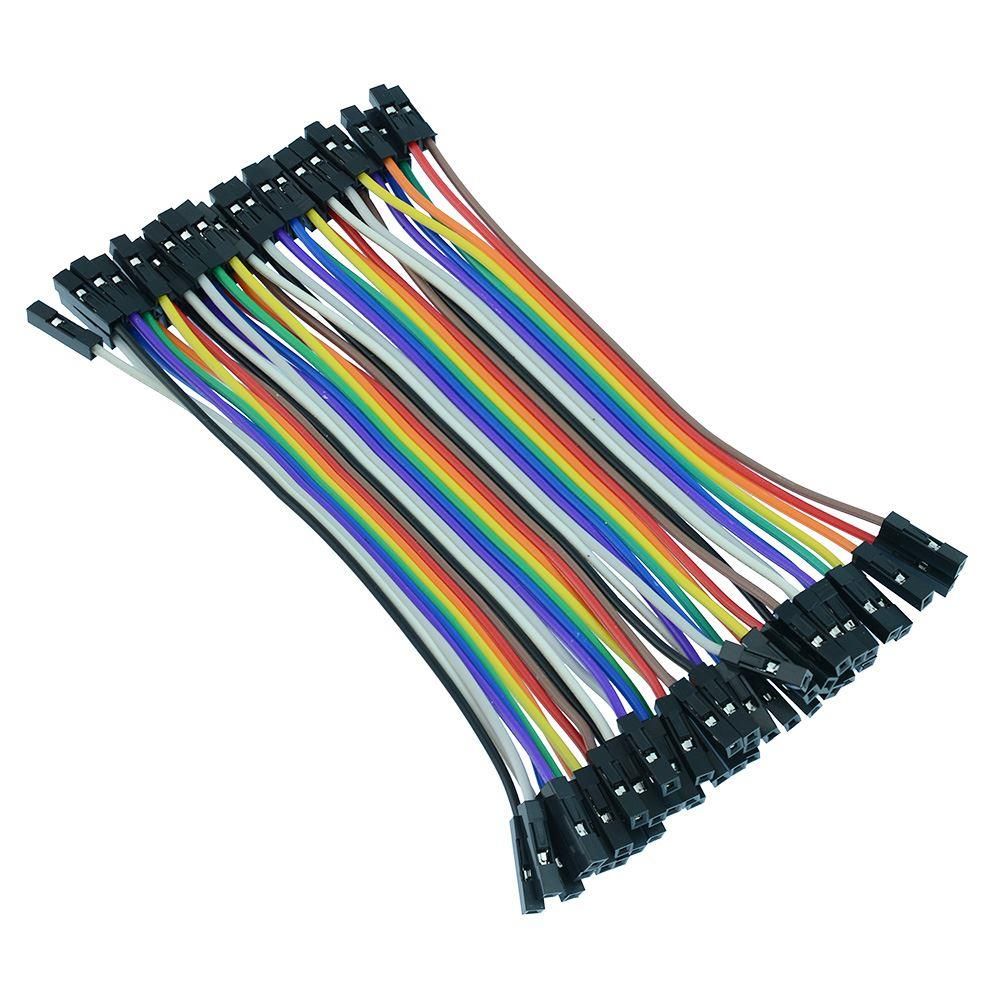
And finally, you will want some female to female Dupont jumper cables (or just some wire if you are going to solder it together)
So the next step is to get the firmware programmed onto the ESP8266. The firmware you want is the zimodem firmware by bozimmerman, this is supplied as source code so if you know your way around the Arduino IDE then you can grab the latest version from here: https://github.com/bozimmerman/Zimodem
However, if you are not familiar with setting up the Arduino development environment and compiling the firmware then there is an easier way. Grab a pre-compiled firmware from here: http://subethasoftware.com/files/zimodem/
The file you want is the zimodem.ino.nodemcu-{version}.bin
Once you have got the firmware you can flash it to the NodeMCU by connecting the board to your PC via USB cable and installing the correct driver (mine was automatically installed by searching automatically for drivers). It should be detected as a COM port device. Then download and run the ESP flasher utility from here: https://github.com/nodemcu/nodemcu-flasher/tree/master/Win64/Release
Once the application has loaded select the correct COM port
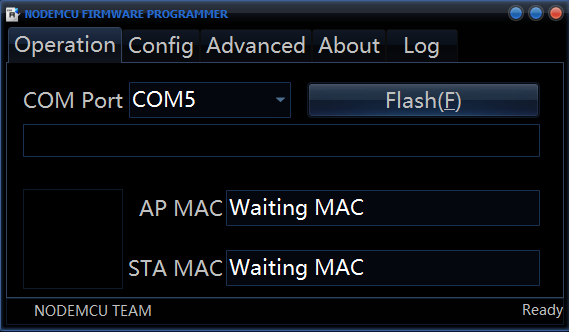
Then click on the Config tab, and click the second Cog icon down. Browse to the firmware you downloaded in the previous step.
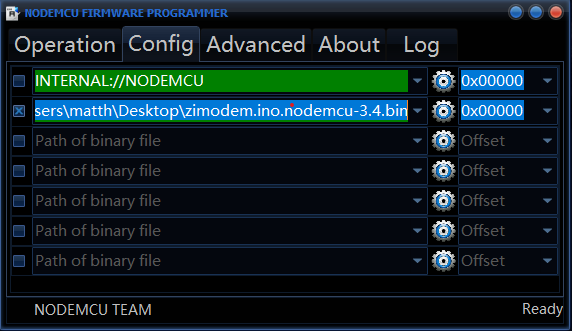
Now go back to the Operation tab and click the flash button. Once completed we are ready to wire up the ESP8266 to the MAX3232 board and complete the build of the modem part.
The wiring for this is pretty simple and will need four of the dupont connector wires.
We will want to connect them up as follows:
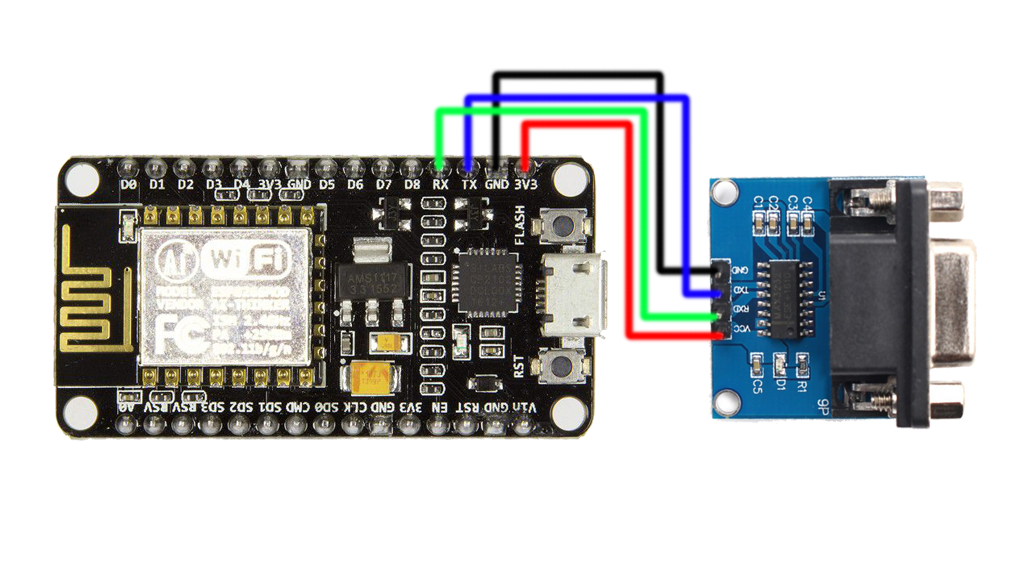
And there we have it, a fully functional serial port WiFi modem! Now let’s connect this up to the BBC. For this, we need to make a cable that goes from the DB9 connector to the 5 pin domino connector on the BBC. This needs to be wired up as follows (note that the RTS and CTS pins and bridged in the domino connector):
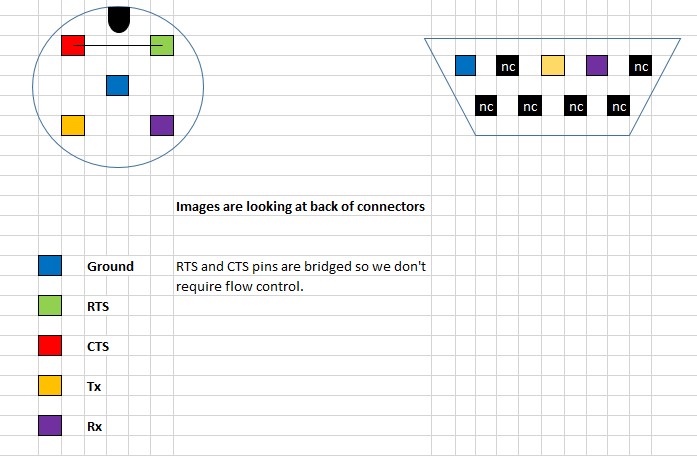
Once both the modem and the cable have been constructed, connect the domino plug to the BBC with the notch facing to the right of the BBC (If looking at the computer from the front), connect it up to the modem and finally connect the modem to a USB power source.
The final missing component is some software. For this I used Commstar, this terminal software is a ROM file so to run it you will either need to burn it to an EPROM or if you have a sideways ram/rom module you can load it into that.
Once you have the Commstar ROM accessible, you can load the software by typing *COMMSTAR from BBC Basic. Once loaded you will be greeted with the main menu screen.
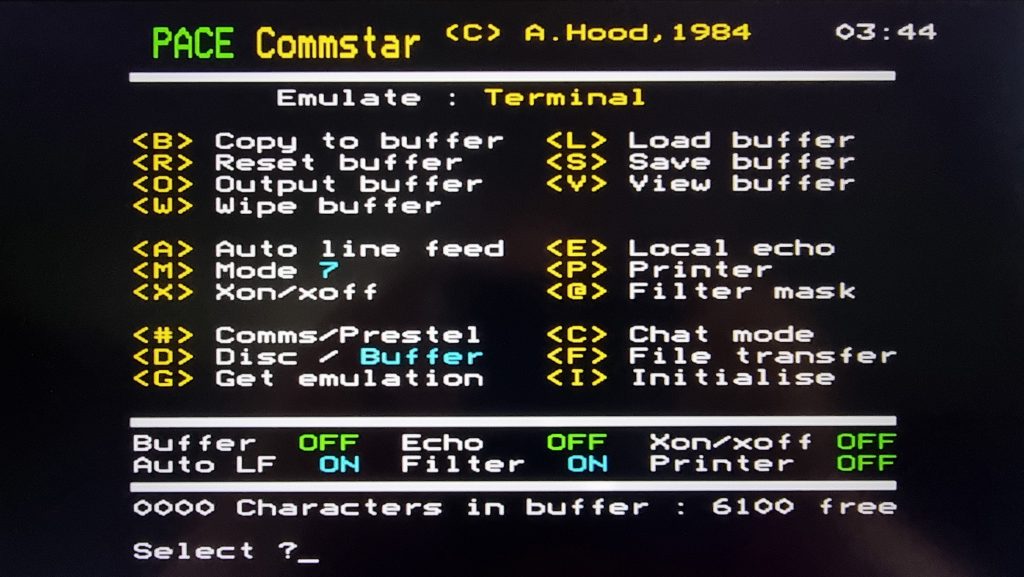
The first thing we need to do is set the baud rate to match the modem firmware. As default, this is 1200baud. So to do this first press I for Initialise. Then press R once to set the receive at 1200 baud, followed by S to set the send at 1200 baud. Make sure the word parity and stop are set to 8,None,1 (Option 5) and press return to finish.
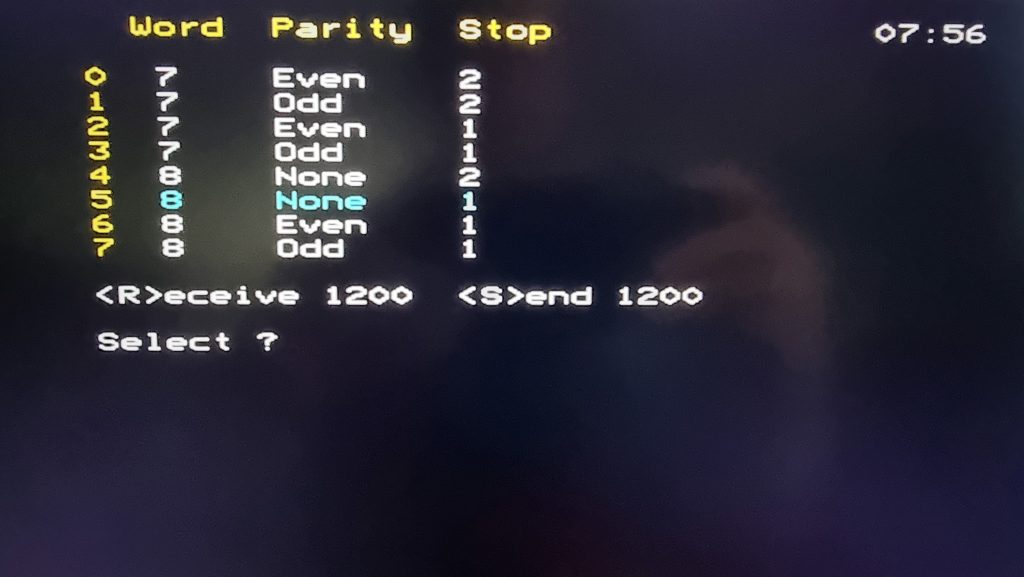
You should now be back at the main menu so we now need to open the chat window so we can interact with the modem. Press the C key to enter chat mode.
We can now plug in the power to the modem, or if you already had it turned on press the reset button on the modem. You should now be presented with the welcome message from the modem. The first thing we need to configure is your wifi connection so do this by typing AT+CONFIG
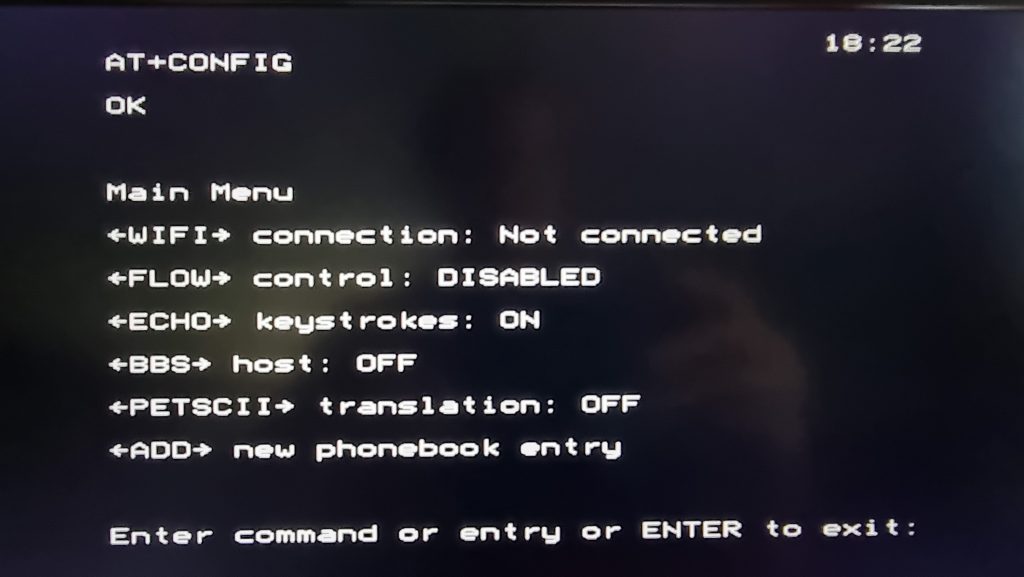
Type WIFI followed by return, at which point your wifi networks will be listed. Pick your network by entering the number alongside its name, and then enter your wifi password (Remember this is case sensitive!)
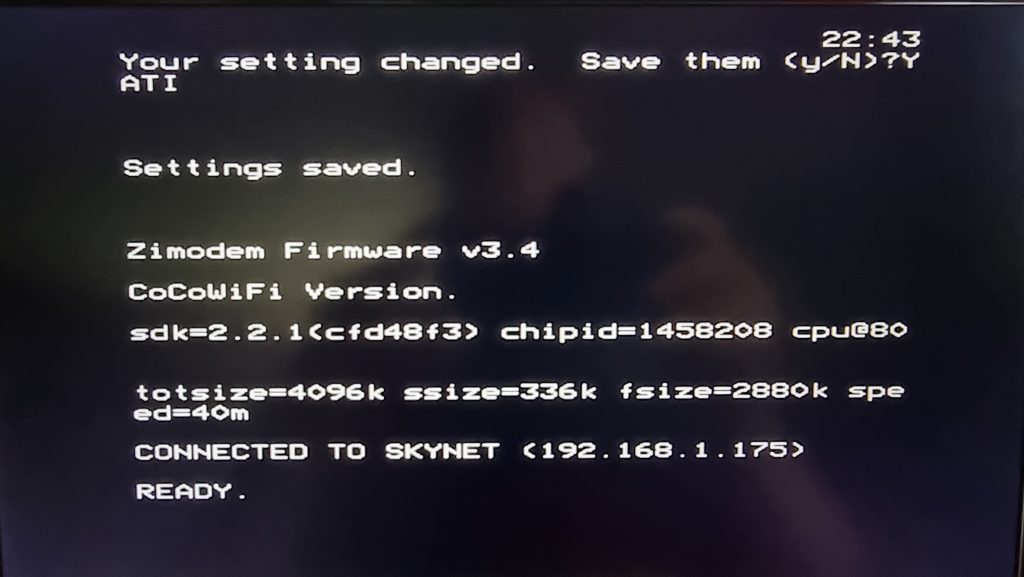
Once the modem goes back to the menu, hit return to exit the menu and type Y to save the settings.
If you now type ATI and hit return you should get the welcome message again but this time it will say it is connected to your network.
Now let’s get connected to an online service. For this demo we will connect to the awesome telstar service.
So to connect type: atdt glasstty.com:6502 and press return.
This service uses Prestel mode which means we now have to change some more settings. So first press ESCAPE to return to the Commstar menu.
Next press the # key to switch to Prestel mode (you will notice the Emulate line at the top of the screen change from Terminal to Prestel.
Finally, Prestel uses its own baud settings so press I (Initialise). Press 5 to change to 8,N,1 and press S (3 times) to change the send baud to 1200. Exit this section by pressing return.
Now press the C key to go back to the main chat window and once there press the return key and prepare to be amazed 🙂
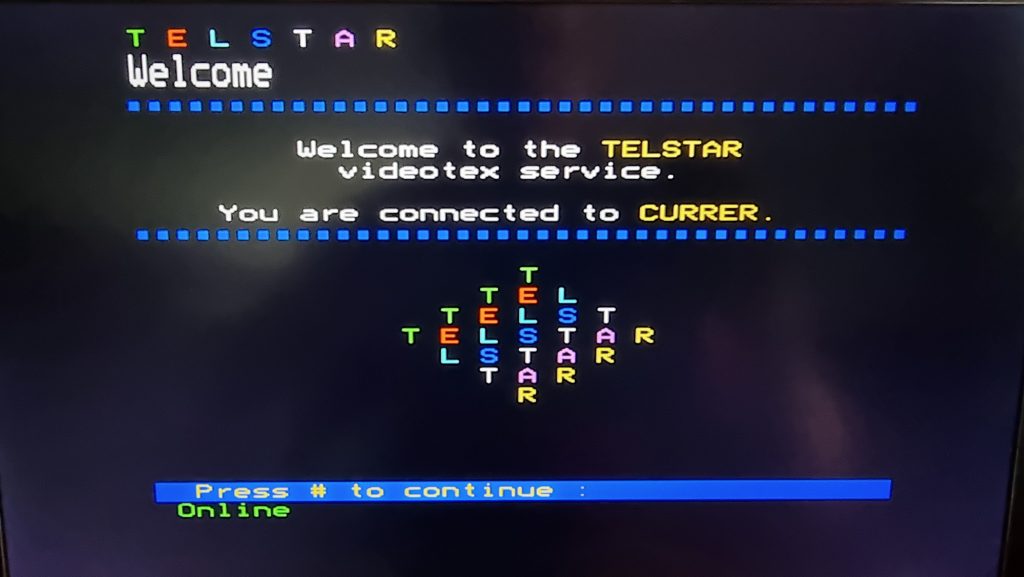
You will notice it says to press # to continue. In Commstar the return key is actually the # key so wherever telstar says # it means return. So if you want to go to page 200, just type *200 and press return.
Hopefully, from here you can start to find your way around. You will also be able to connect to many of the Telnet BBS sites still active today. Remember that you won’t need to switch to Prestel mode for those so just stick with terminal emulation. Enjoy!!!
