I wasn’t a Commodore person back in the day. My loyalty sat firmly in the Sinclair camp. To me, the C64 graphics looked weird and very very brown for some reason. That being said the times I went around to my friend’s house and played on their C64, I was always impressed by the music on the games. The SID chip had some great capabilities compared to the Spectrums AY sound chip.
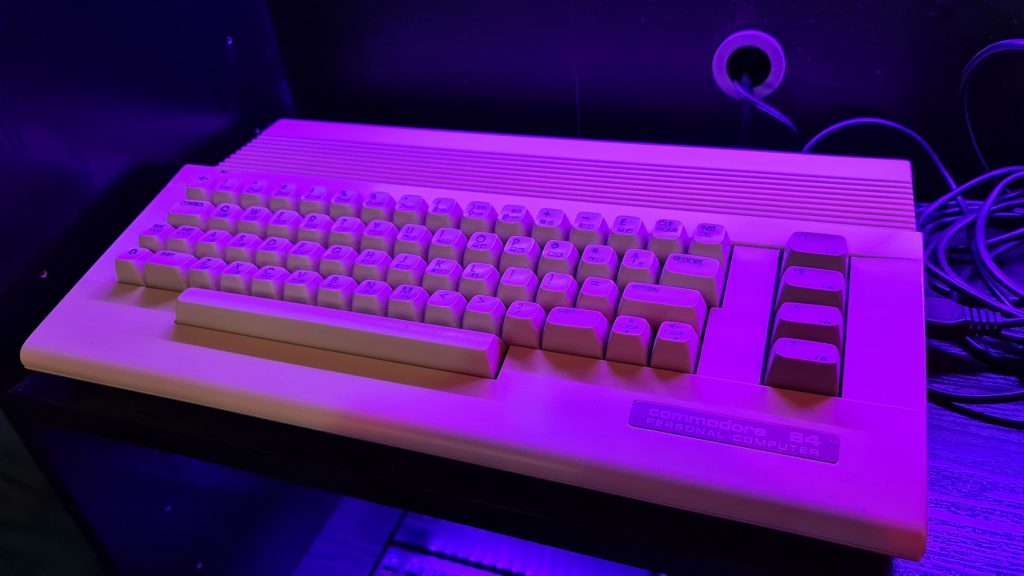
My wife also grew up with a C64, in particular, the C64C as opposed to the bread bin model. So a while ago before I really started my collection, I purchased a spares/repair C64 from eBay to turn it into a simple to use machine that she could play her old favourite games on.
Inside the machine lurks a Raspberry Pi 2 running the BMC64 (See here) distribution. This is a C64 emulator written directly for the raspberry pi hardware as opposed to running under the standard Linux OS. This means that when you power it on the C64 is almost instantly booted rather than having to wait ages for Raspbian to start. The Emulation is pretty much perfect too as the device can concentrate solely on doing the task at hand.
On previous Raspberry Pi builds I had done, to use the original keyboards I had simply purchased one of the cheap rubber rollable USB keyboards you can find on eBay. I then took the controller board out of this and wired the original device’s keyboard into it. Obviously, this meant the keyboard layout was completely screwed, but I then ran a script under Linux that re-mapped all the keys back into their correct places.
The problem with my C64 build is that I wasn’t running Raspbian anymore and my script wasn’t going to work easy. So this time I looked for a better solution. After searching around I discovered another project that allowed me to use an Arduino Pro Micro board (Details here). With this, all of the keyboard mappings were done in hardware and the board just shows up as a standard USB Keyboard to any device it was connected to. This worked absolutely perfect!
Now when you power on the computer, you are greeted by the standard C64 command prompt, but pressing a certain keyboard combination brings up a menu allowing you to choose which game you want to boot. I also installed a USB to 9pin dual joystick port adapter so the original C64 joysticks can be used. So I purchased the same joystick my wife had as a kid so everything was familiar to her.
Inside the case, everything was fixed into place neatly and I 3D printed adapters so I could utilise all the original holes in that case without having to modify it in any way. So in theory, if I wanted to, I could put it all back together into its original form.


I did also bid on a completely standard C64 along with its 1541 floppy drive but this turned out not to be and I ended up having to get my money back through eBay. Turns out there still are idiots out there that think they can take your money and then not send you anything. Luckily the buyer protection on eBay is good (Just don’t get me started on the seller protection!).
I expect I will add an original C64 to my collection at some point if a good offer comes around. I just want to have the excuse to use 5 1/4 floppy disks in something. So it will either be one of these or a BBC Micro.
UPDATE: I know have an original C64 in my collection too, along with a 1541 Floppy drive.
So were you in the Commodore camp growing up? Or a Sinclair fanboy like me? Let the playground war continue in the comments section 🙂
Catalog Information
| Number in collection | 1 |
| Hardware Condition | Good |
| Box Condition | N/A |
| Modifications and Accessories | N/A |
| Comments | Custom Build |