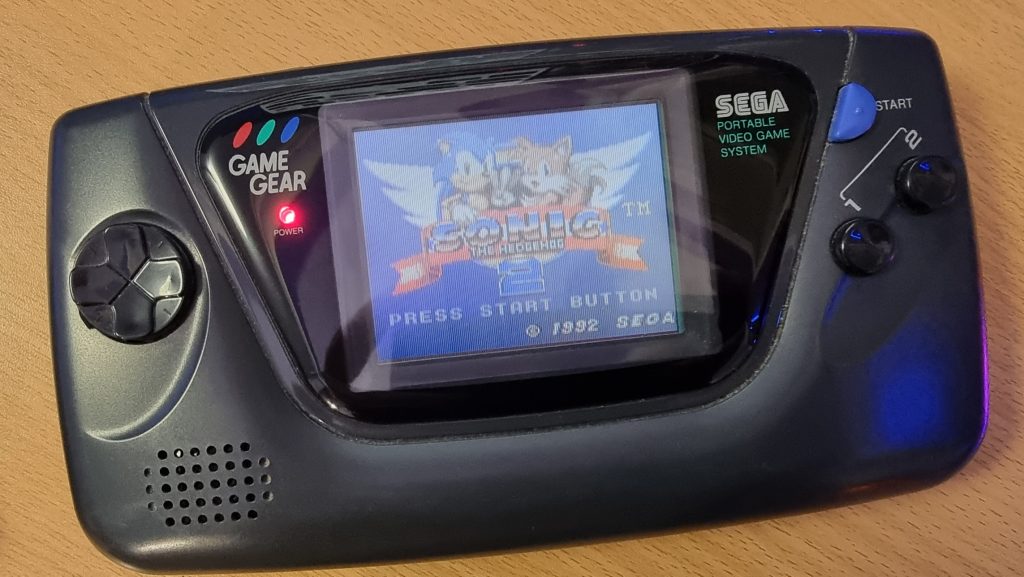
I never owned or even remember seeing a GameGear growing up, so I can’t say for sure what the quality of the screen was like on a brand new unit. All I can say is on my unit the contrast was terrible and it suffered from vertical ghosting from bright sprites on dark backgrounds.
Normally I enjoy playing through the catalogue of games on the old systems using the original hardware, but in this case, it just wasn’t a pleasant experience.

Although the picture in the photo above doesn’t look too bad, I can assure you that most of that is my mobile phone doing a surprisingly good job of HDR and balancing out the contrast of the image.
My first thought was maybe I just had a bad unit. Well, an offer came up on a Facebook group to buy another one that had already been re-capped. So I picked this one up and the screen quality was pretty much identical to my first unit. So at this point, I decided since I had two of them, I would have a go and modernising the display of the new unit and keep my original one in factory condition.
Looking around there seemed to be quite a few different kits for the GameGear including the well known McWill mod. But these kits have always been a bit complicated to install. I wasn’t afraid of the challenge but was a bit disappointed by the neatness of the solution and the number of wires going all over the place.
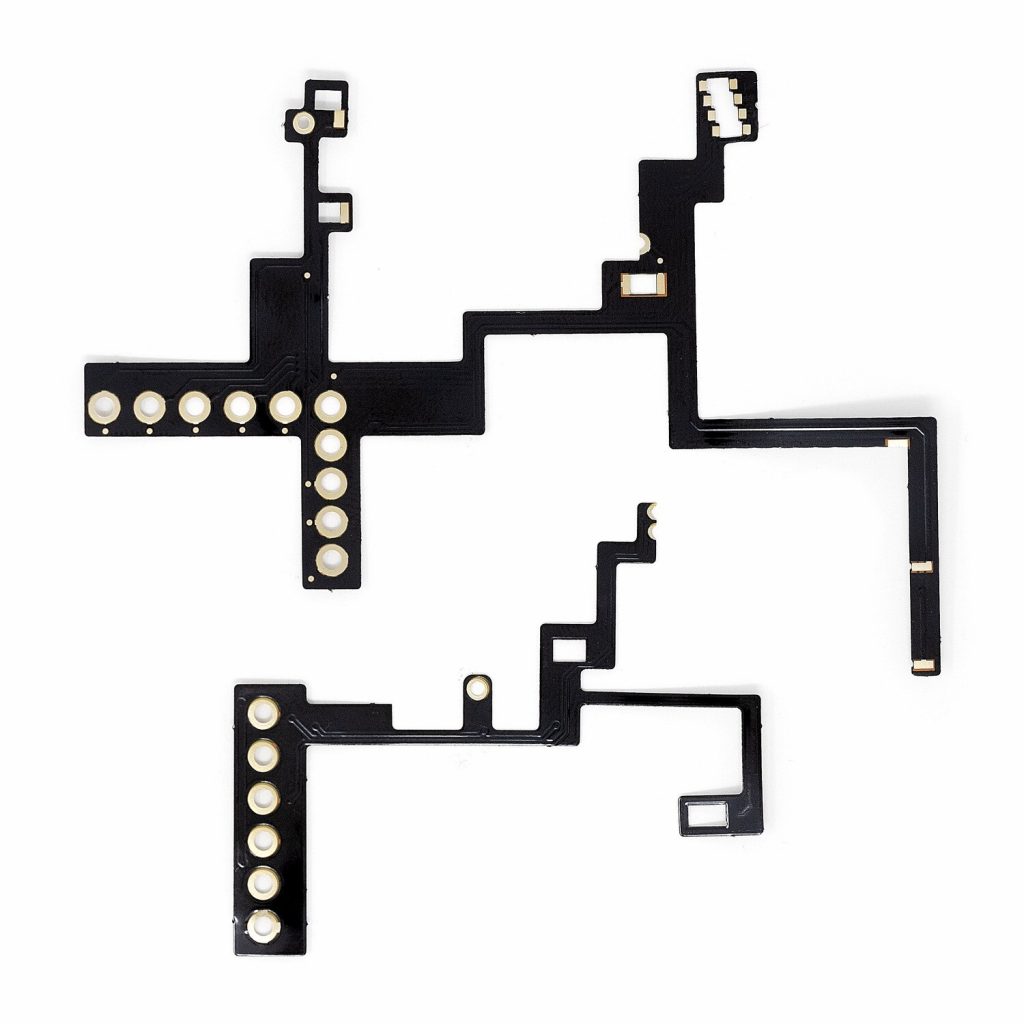
That’s when I came across a new kit called the CleanScreen on the market from retrosix.co.uk. This kit is advertised as being a wire-free install. Now there is still some slightly fiddly soldering to do but they have essentially replaced the mess of wires with a really neat ribbon cable design that lays on the board and lines up with all the required solder points.

Not only does this kit make fitting the screen a much easier job. The install looks very professional and doesn’t mess with my OCD 😛. I would still advise this is not something for the complete beginner to attempt their first soldering job on though. So if you don’t have much experience with soldering then I recommend finding someone who does to fit this kit for you.

I was originally going to create this article as an install guide. But to be honest the included instructions are perfect so for me to repeat them or even watching the various videos on YouTube is honestly a bit pointless.
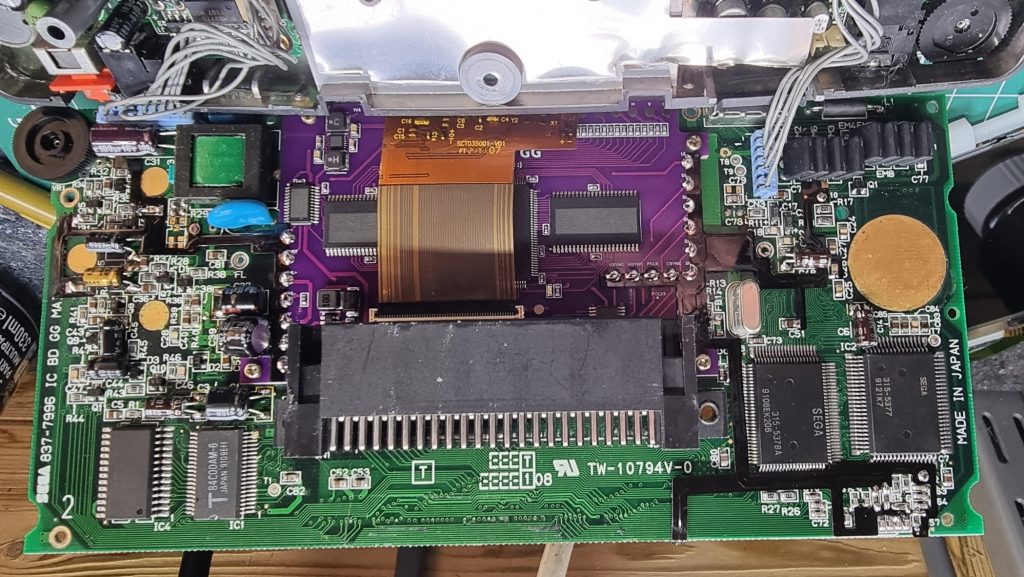
The basic steps are opening the GameGear and removing the mainboard, removing the coil, a couple of surface mount resistors, the original backlight, the LCD screen, and finally a couple of fuses. Then the new screen and controller board screw into place using the 3D printed holder. After this, you solder the two ribbon cables in place (note that the ribbon cable kits are different for the one chip or two chip GameGear, you can see mine is the two chip version but the two black chips in the bottom right of the above image).
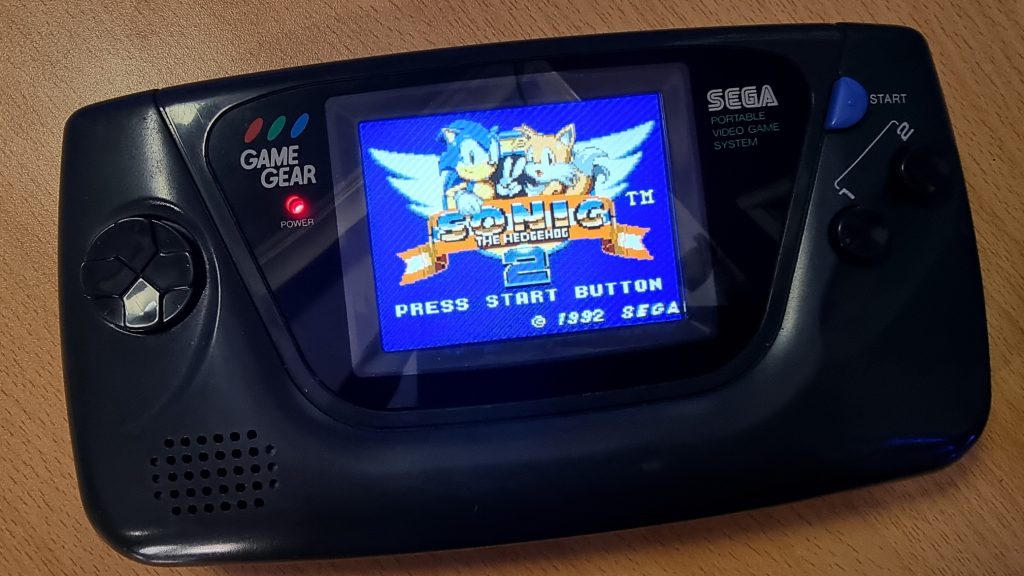
A quick re-assembly after the soldering and everything is back in one piece and the screen is looking absolutely gorgeous!

Not only is the image quality much improved, but the battery life is also greatly increased due to it not having to run that power-sucking backlight for the old screen. The screen also has the usual options of these kits to change the scaling and also add scanlines.
So I am very happy with this kit overall and would highly recommend it to anyone who actually wants a GameGear that they want to use for playing games and not just sitting on a shelf as a museum piece as a reminder of how bad the LCD screen used to be.
If I had to pick any sort of fault I would say the issue like most modern screens is the picture is too clear and sharp. So you notice the lower resolution of these systems much more. The original screen was very low contrast and blurry in this sense so helped smooth the graphics over. It’s a bit like comparing a CRT to the Modern LCD apart from the original screen on this was nowhere near as good as a CRT! So really this is just isn’t an issue.
If you want to go ahead and order this screen yourself, it will set you back around £70 from the UK. Remember to order all the required parts as it doesn’t come as a complete kit. You will need the Cleanscreen board, the TFT Screen, the 3D printed brackets and finally the wire-free kit for your model of GameGear.
I am now really looking forward to exploring the GameGear library of games and have just purchased an SD-Card cartridge for the unit to load it up with ROMs for both the GaemGear and Master System. So I will do a review of that unit once it arrives.
